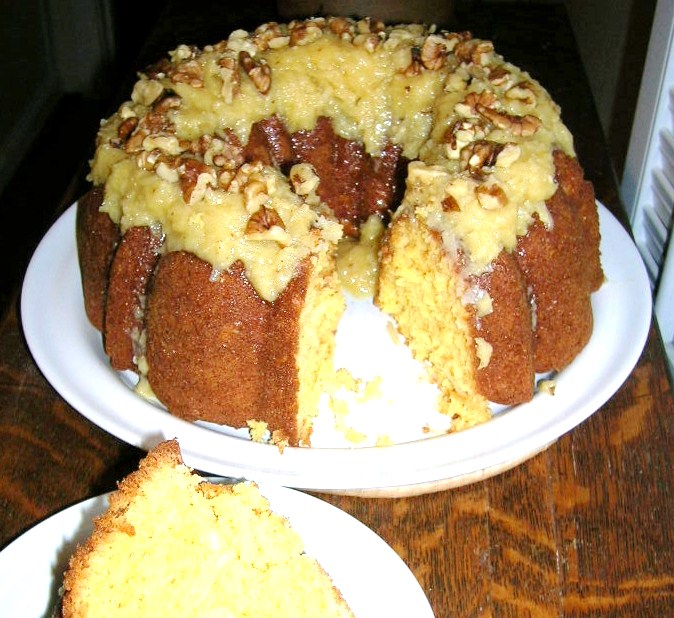
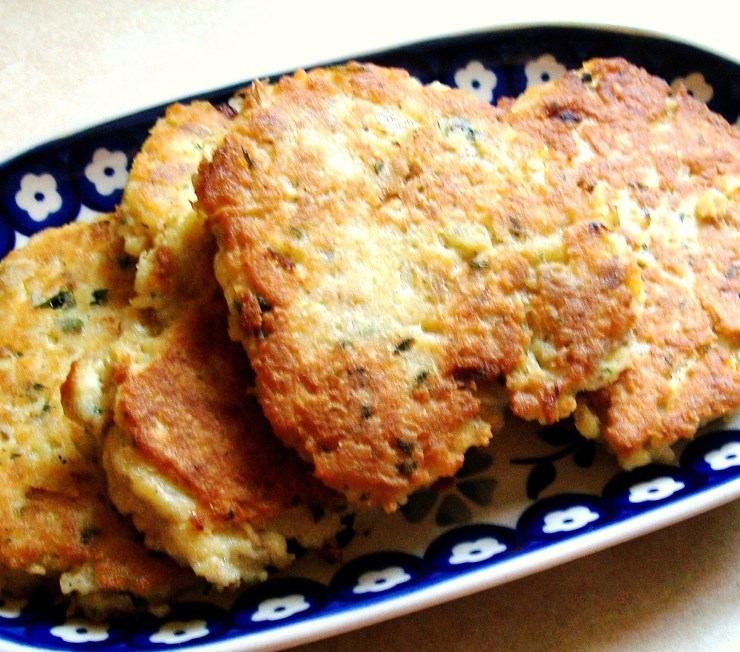
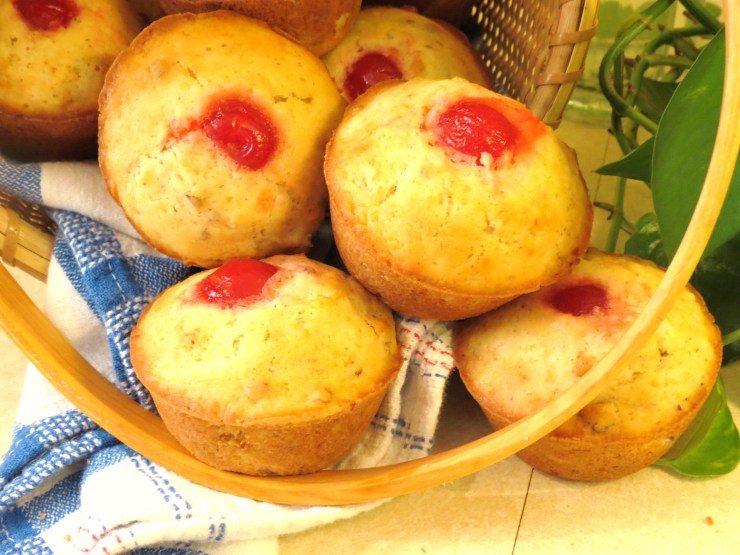
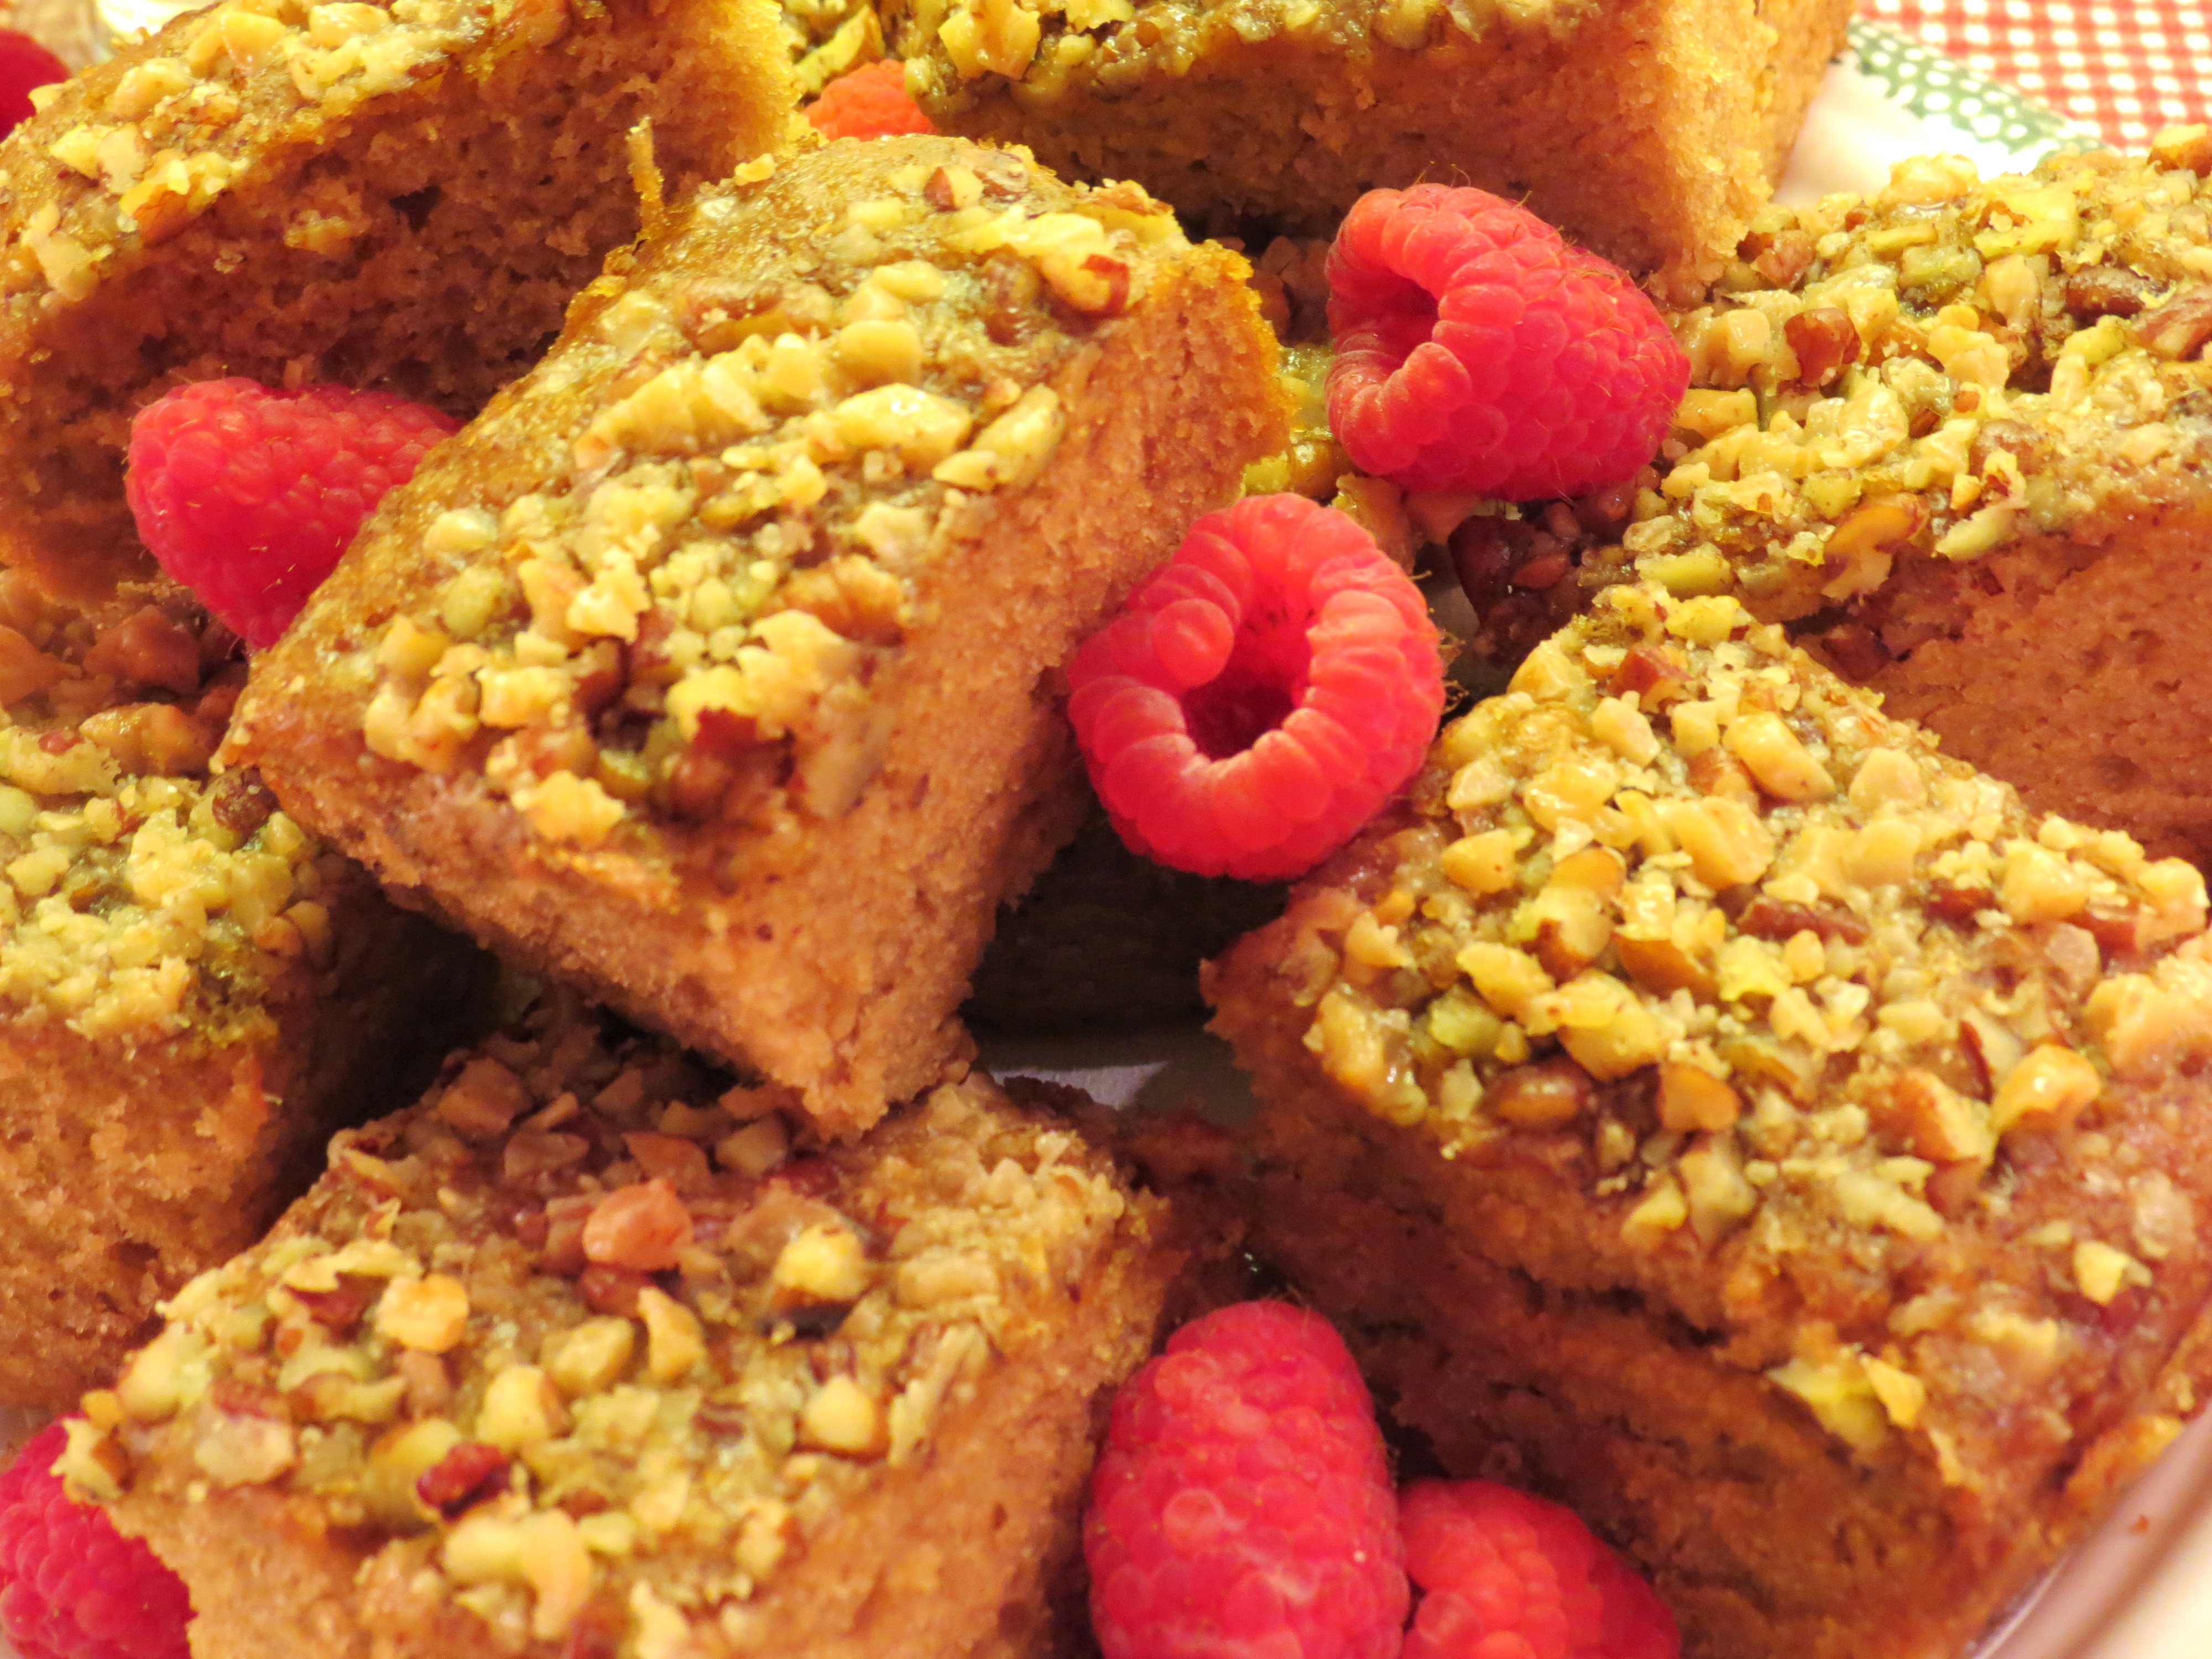
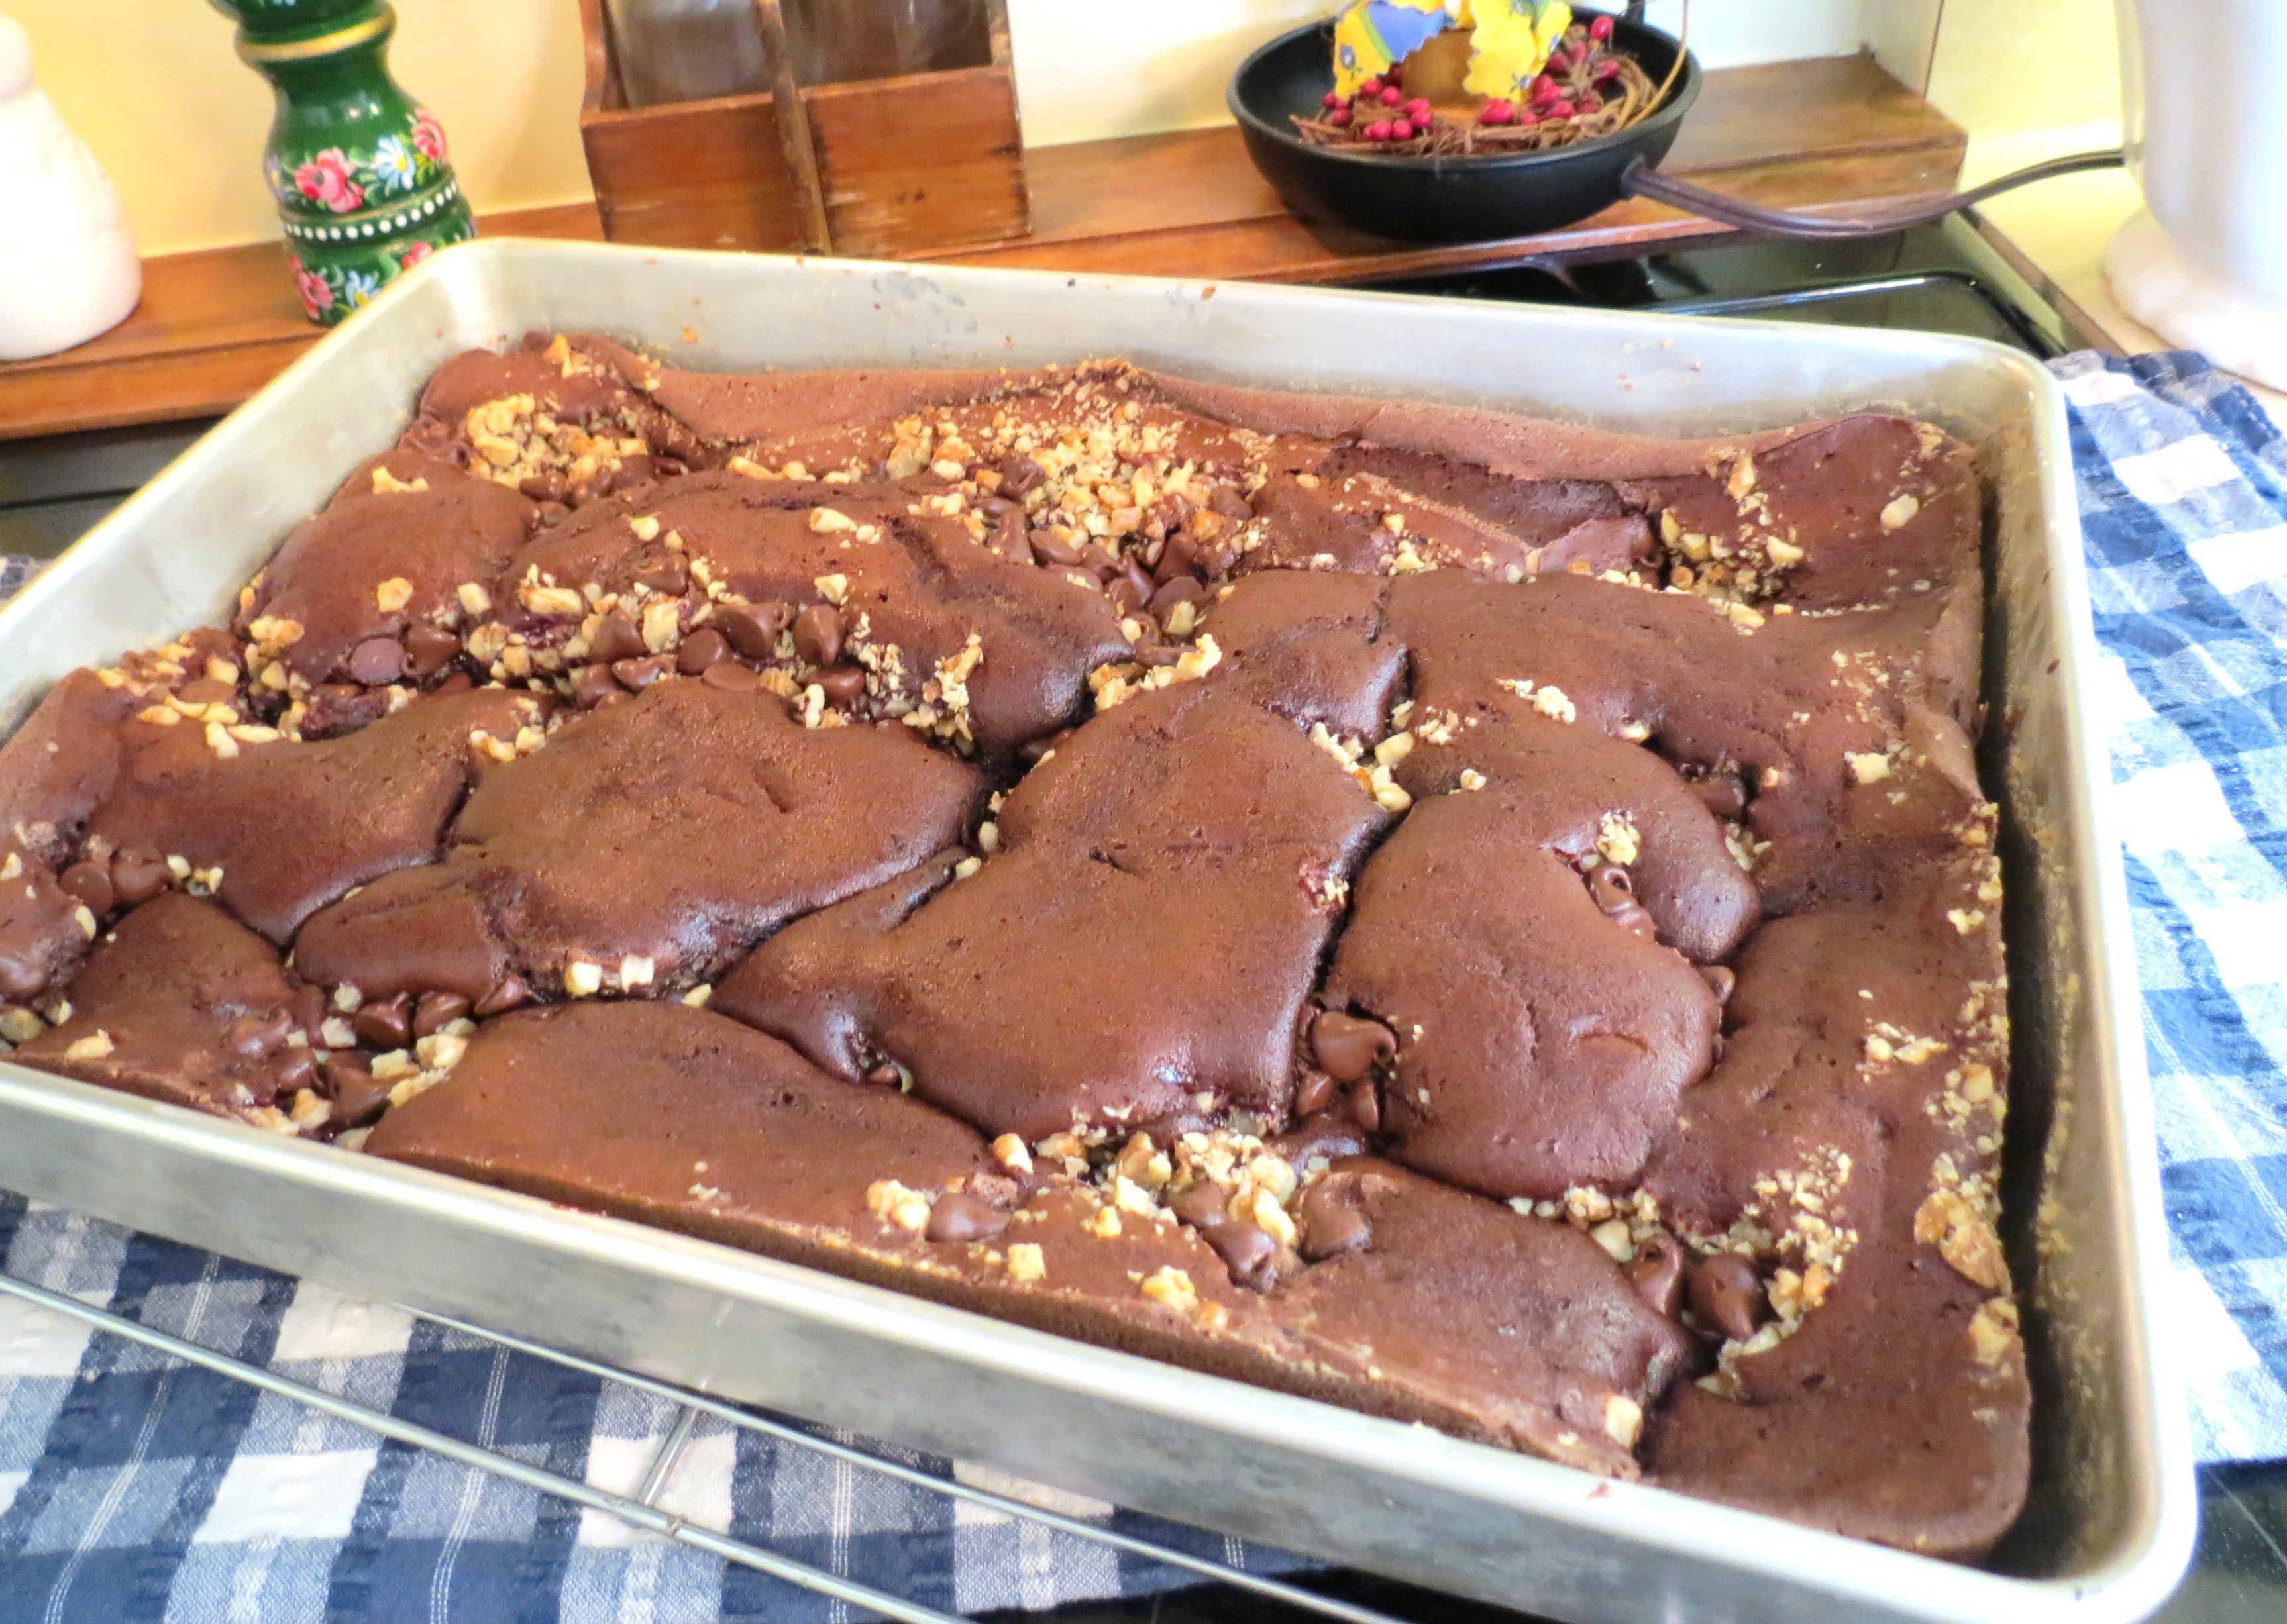
Not long ago I posted my recipe for Old Fashioned Pineapple Upside-Down Cake. Soon after, I started thinking, “I bet this cake would be delicious if I added chopped pecans to the buttery brown sugar/maraschino goodness”. So, last night that’s exactly what I did – and my neighbor Frank – The Dessertaholic – was the lucky recipient of my ‘experiment’.

Photo of my first version of ‘Old Fashioned Pineapple Upside-Down Cake’. https://myyellowfarmhouse.com/2014/01/25/old-fashioned-pineapple-upside-down-cake/
+
Old-Fashioned Pineapple Upside-Down Cake is easy to make, especially now that grocery stores sell small packages of cake mix. (Betty Crocker ‘Yellow Cupcake Mix’).
Of course, you can always use a regular-size cake mix – and a 10″ X 13″ pan. It’s a bit harder to flip the larger cake but it’s certainly doable. ++ If you prepare an ordinary-size caked mix, double the butter, brown sugar, pineapple, cherries & pecans.
Ingredients Oven at 350F 9′ x 9′ square or round cake pan
- 1 package Betty Crocker ‘Yellow Cupcake Mix’ — prepared according to directions.
- 1 (14 oz.) can pineapple CHUNKS – drain juice & reserve ++ I cut the chunks in half …. but that’s not necessary.
- 1/4 cup butter
- 1/2 cup packed brown sugar
- 8 Maraschino cherries, chopped
- 1/4 cup chopped pecans
Method
Preheat oven to 350 (F). ++ Preheat right away – the butter is placed in the pan, then melted in the oven.
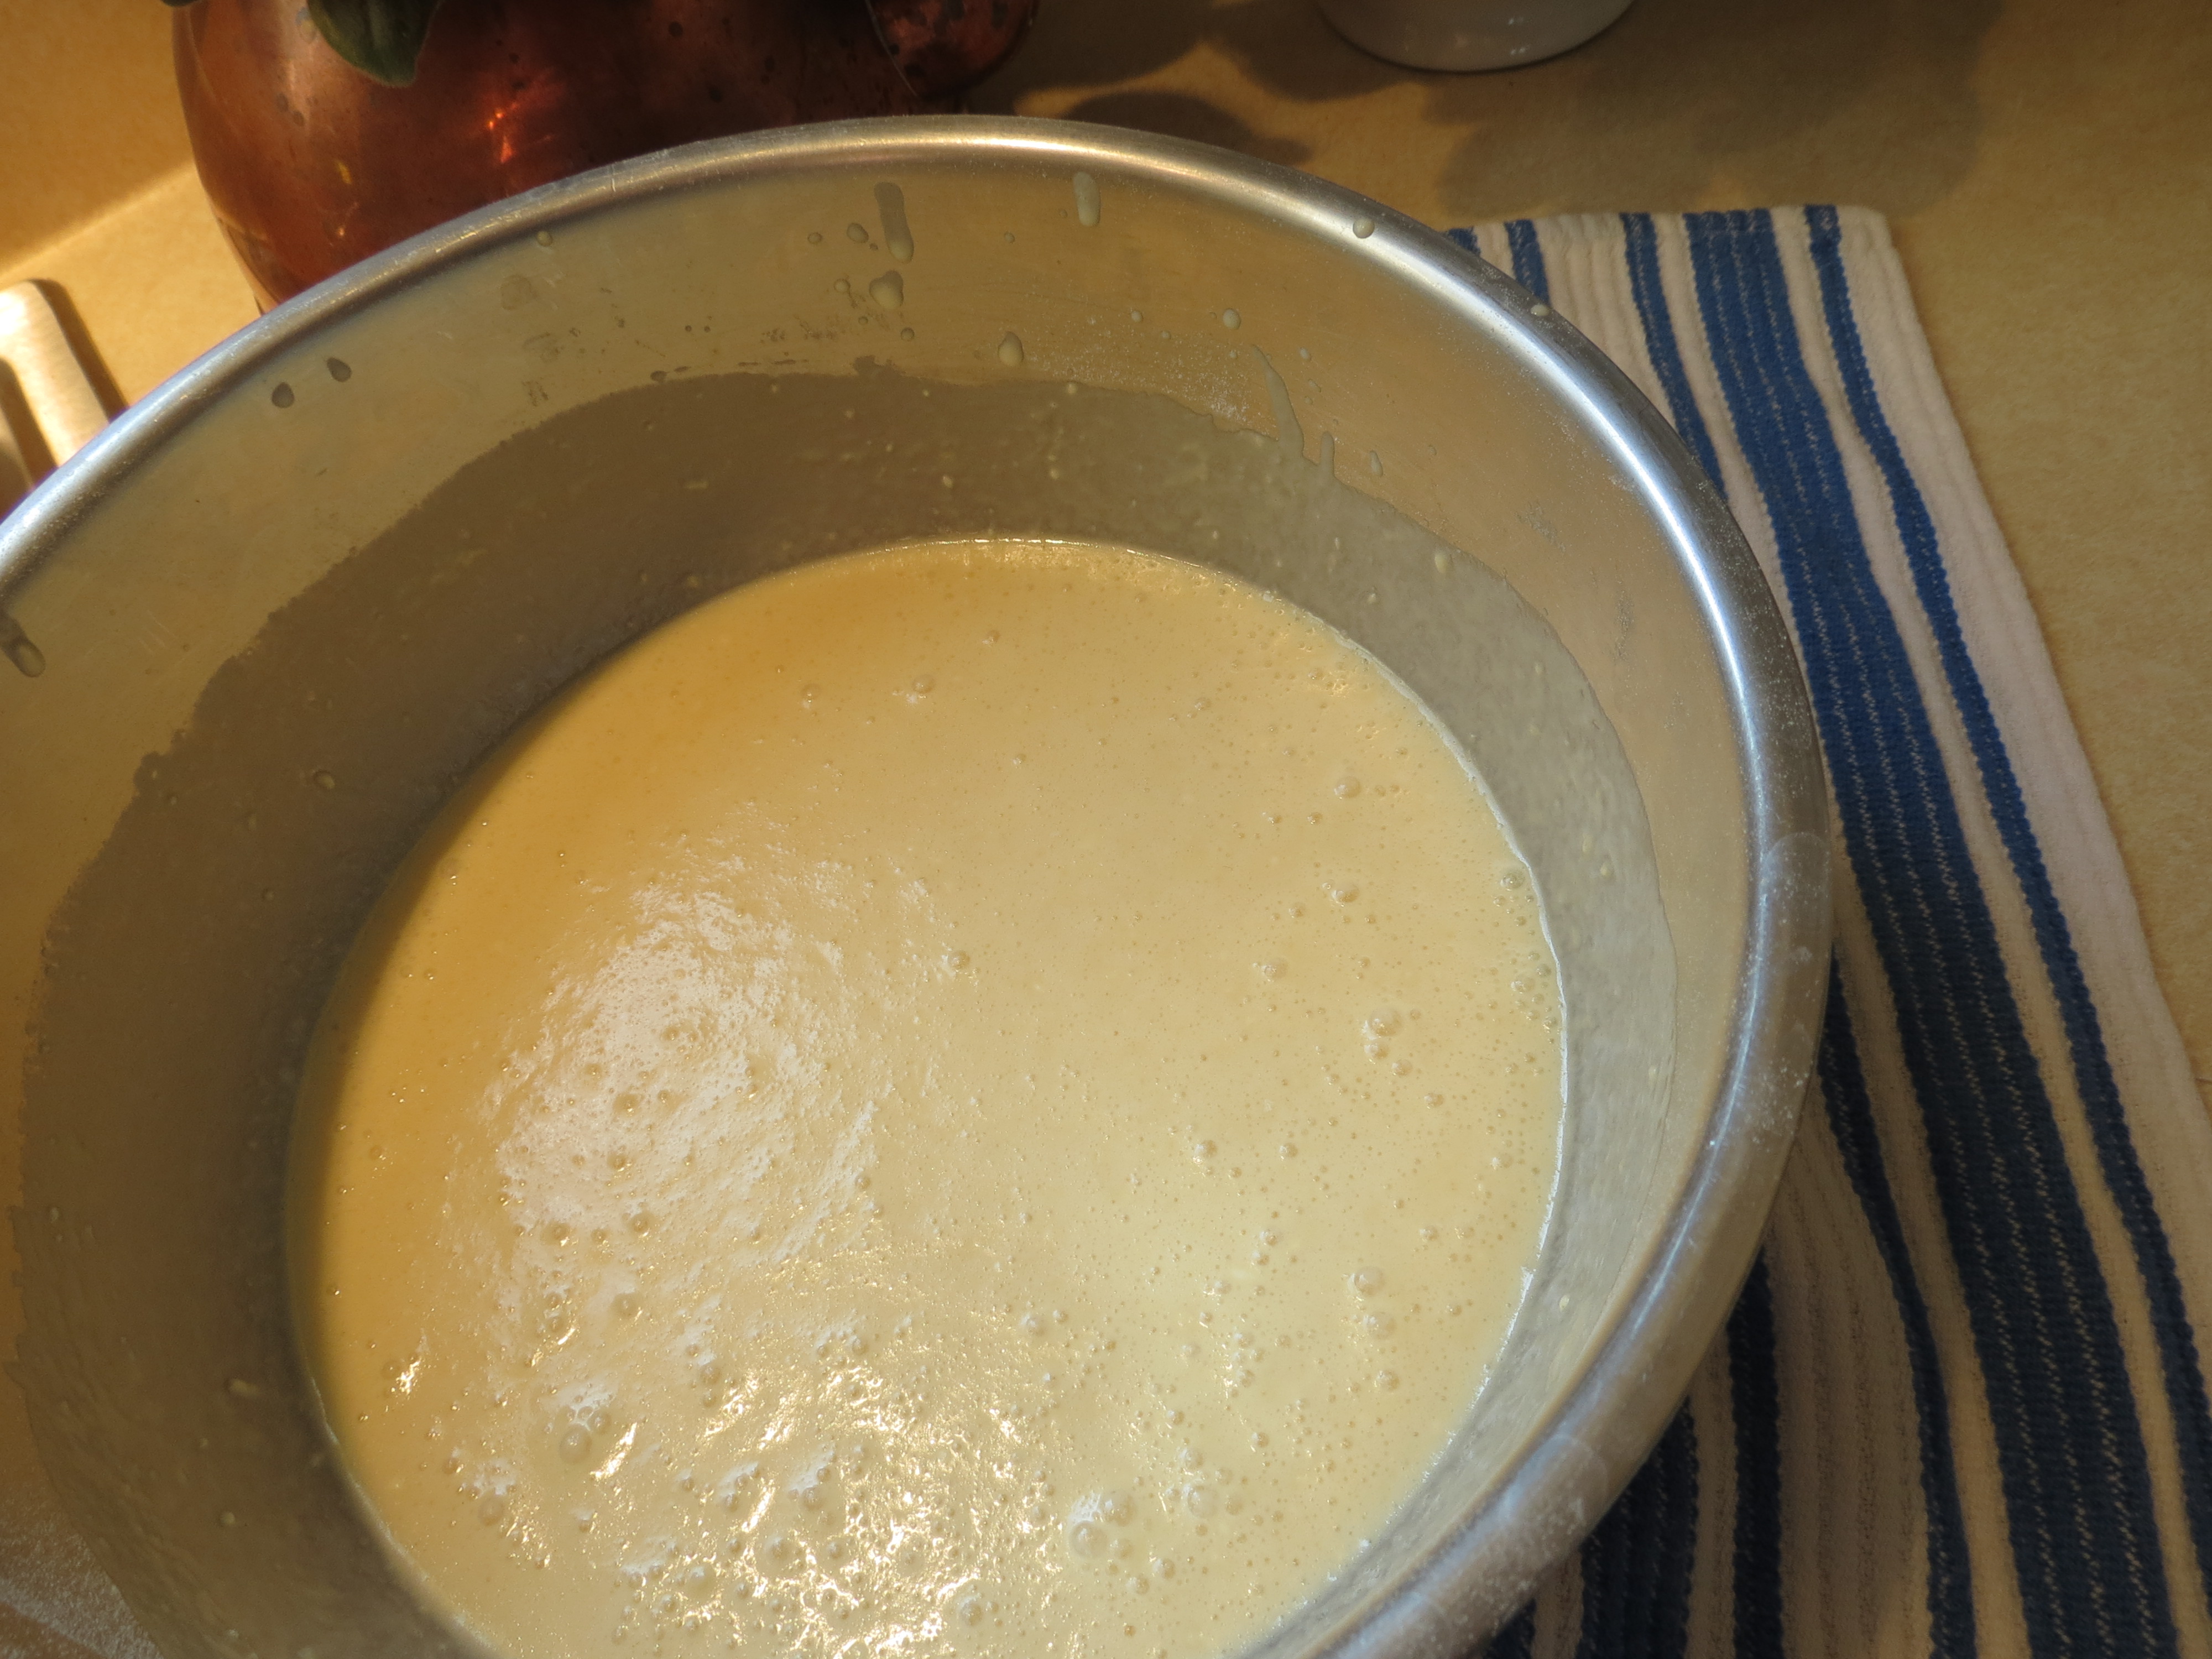
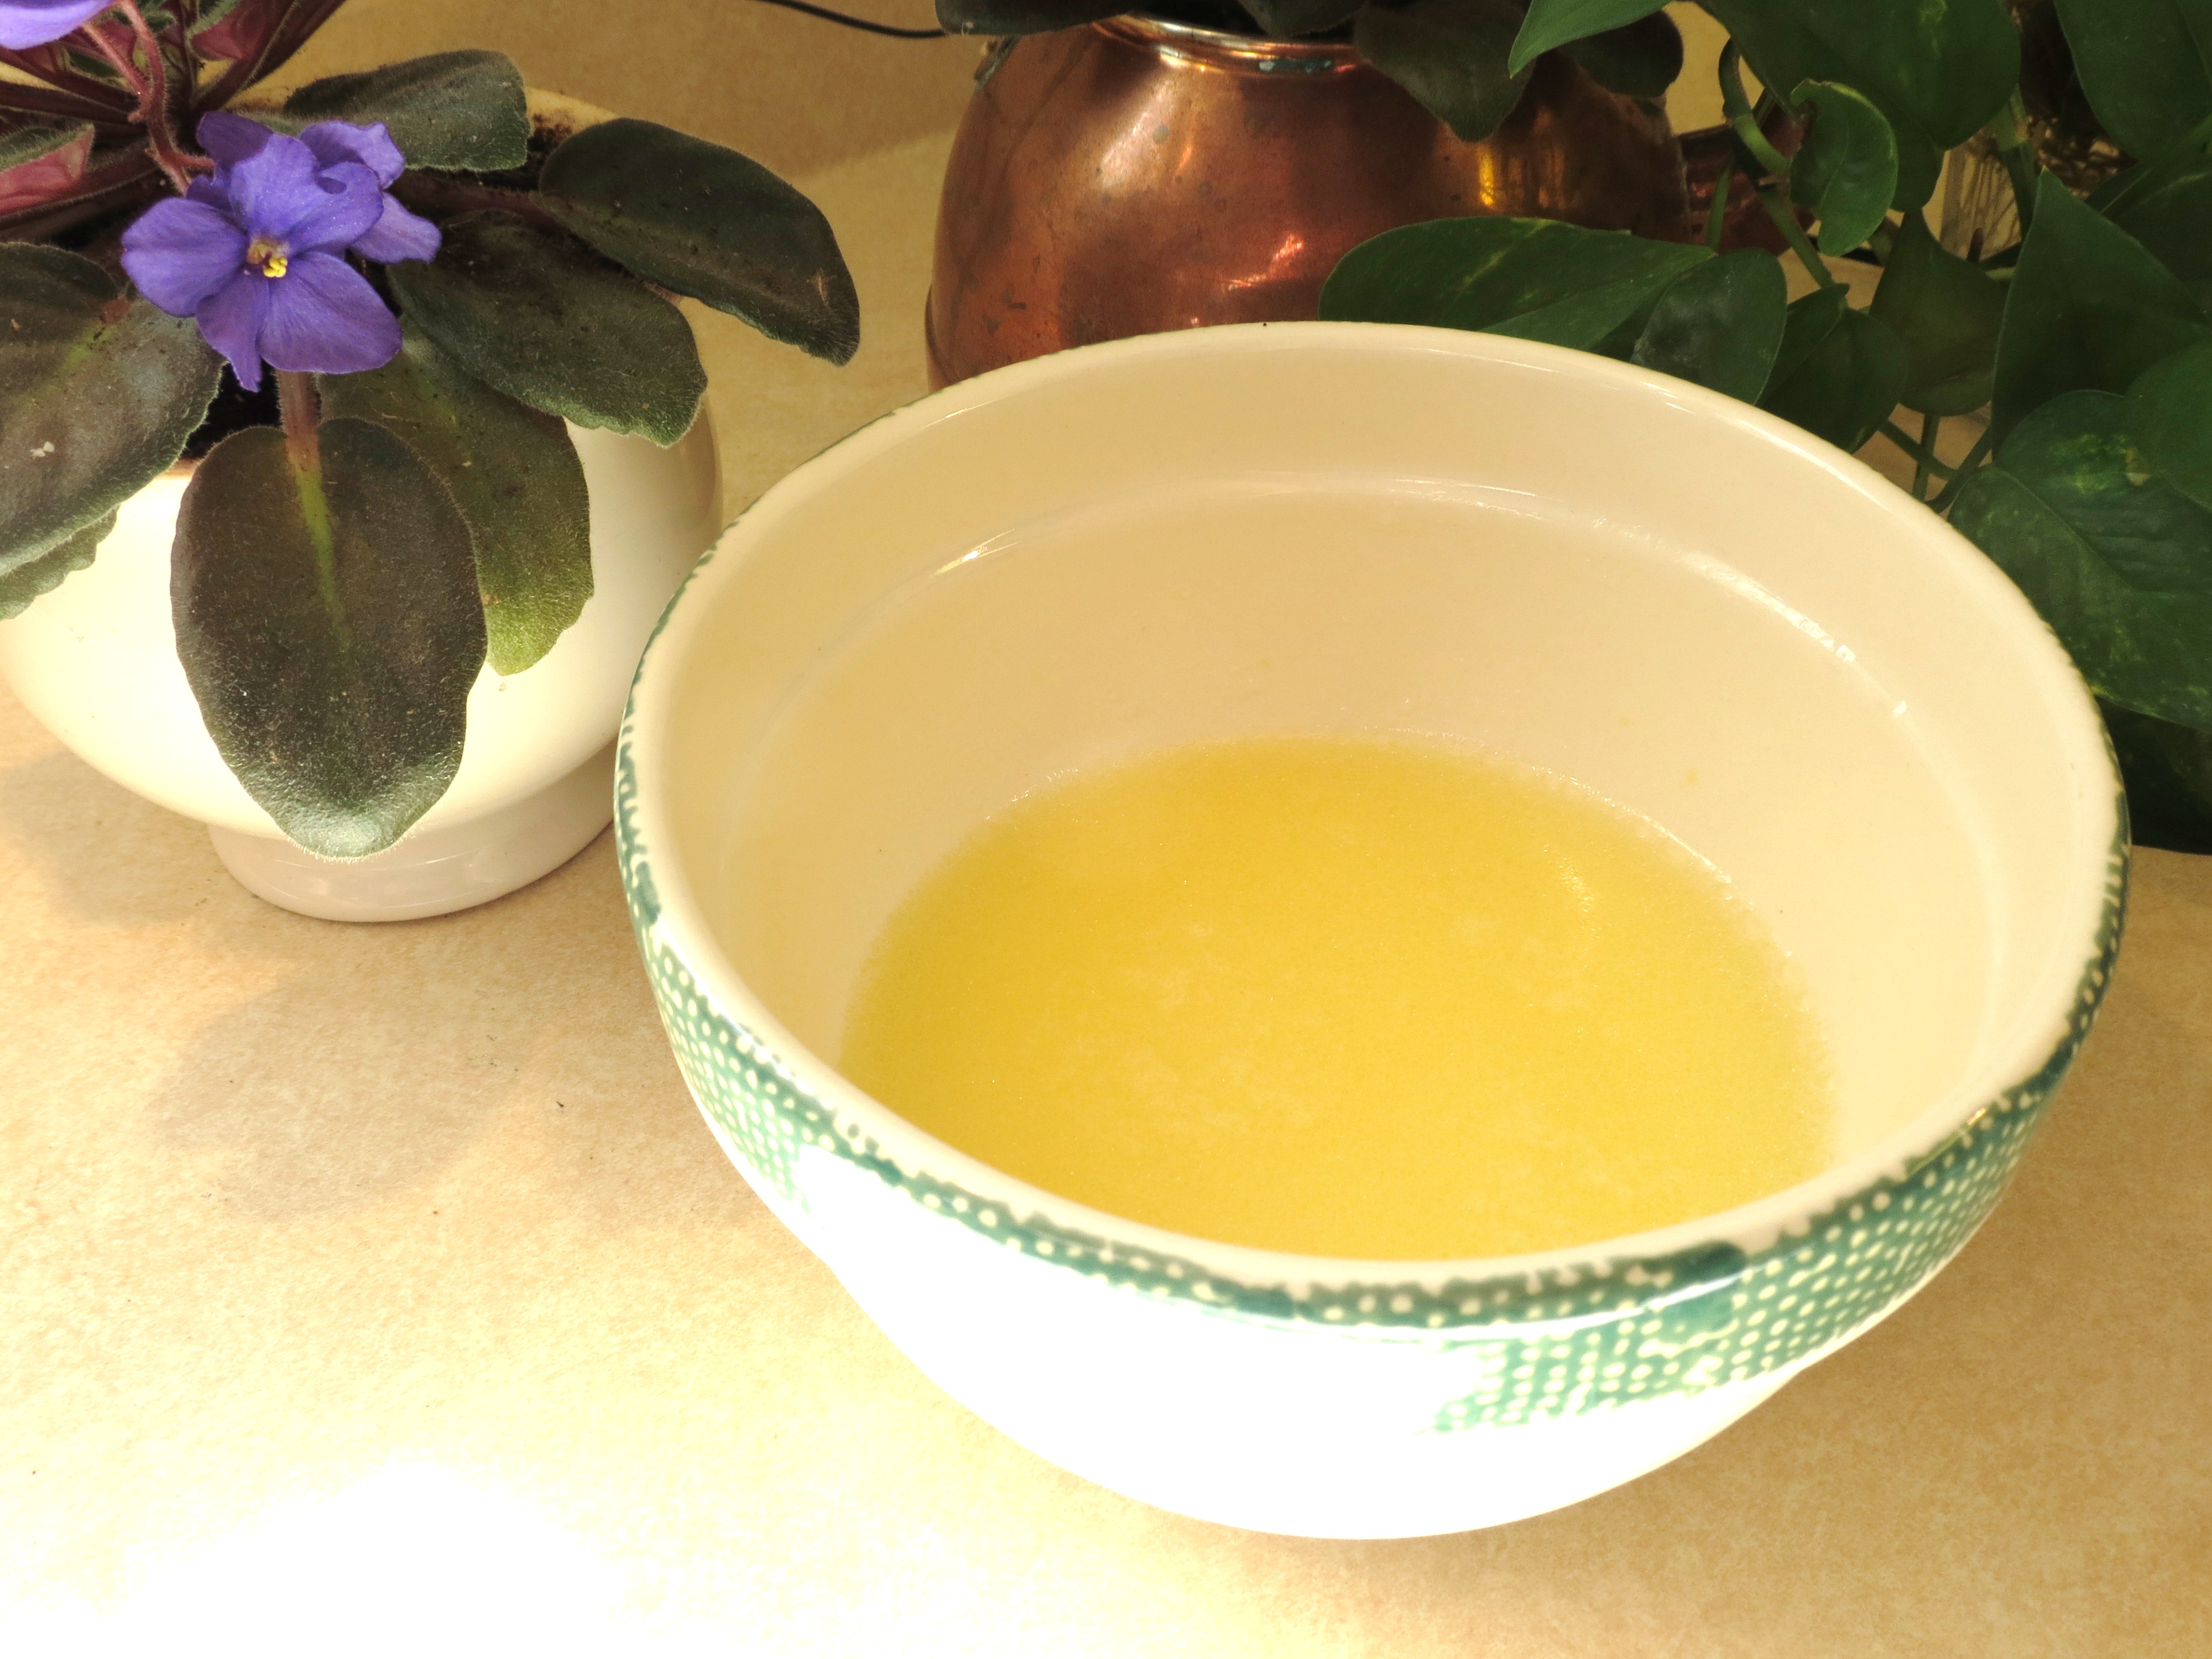
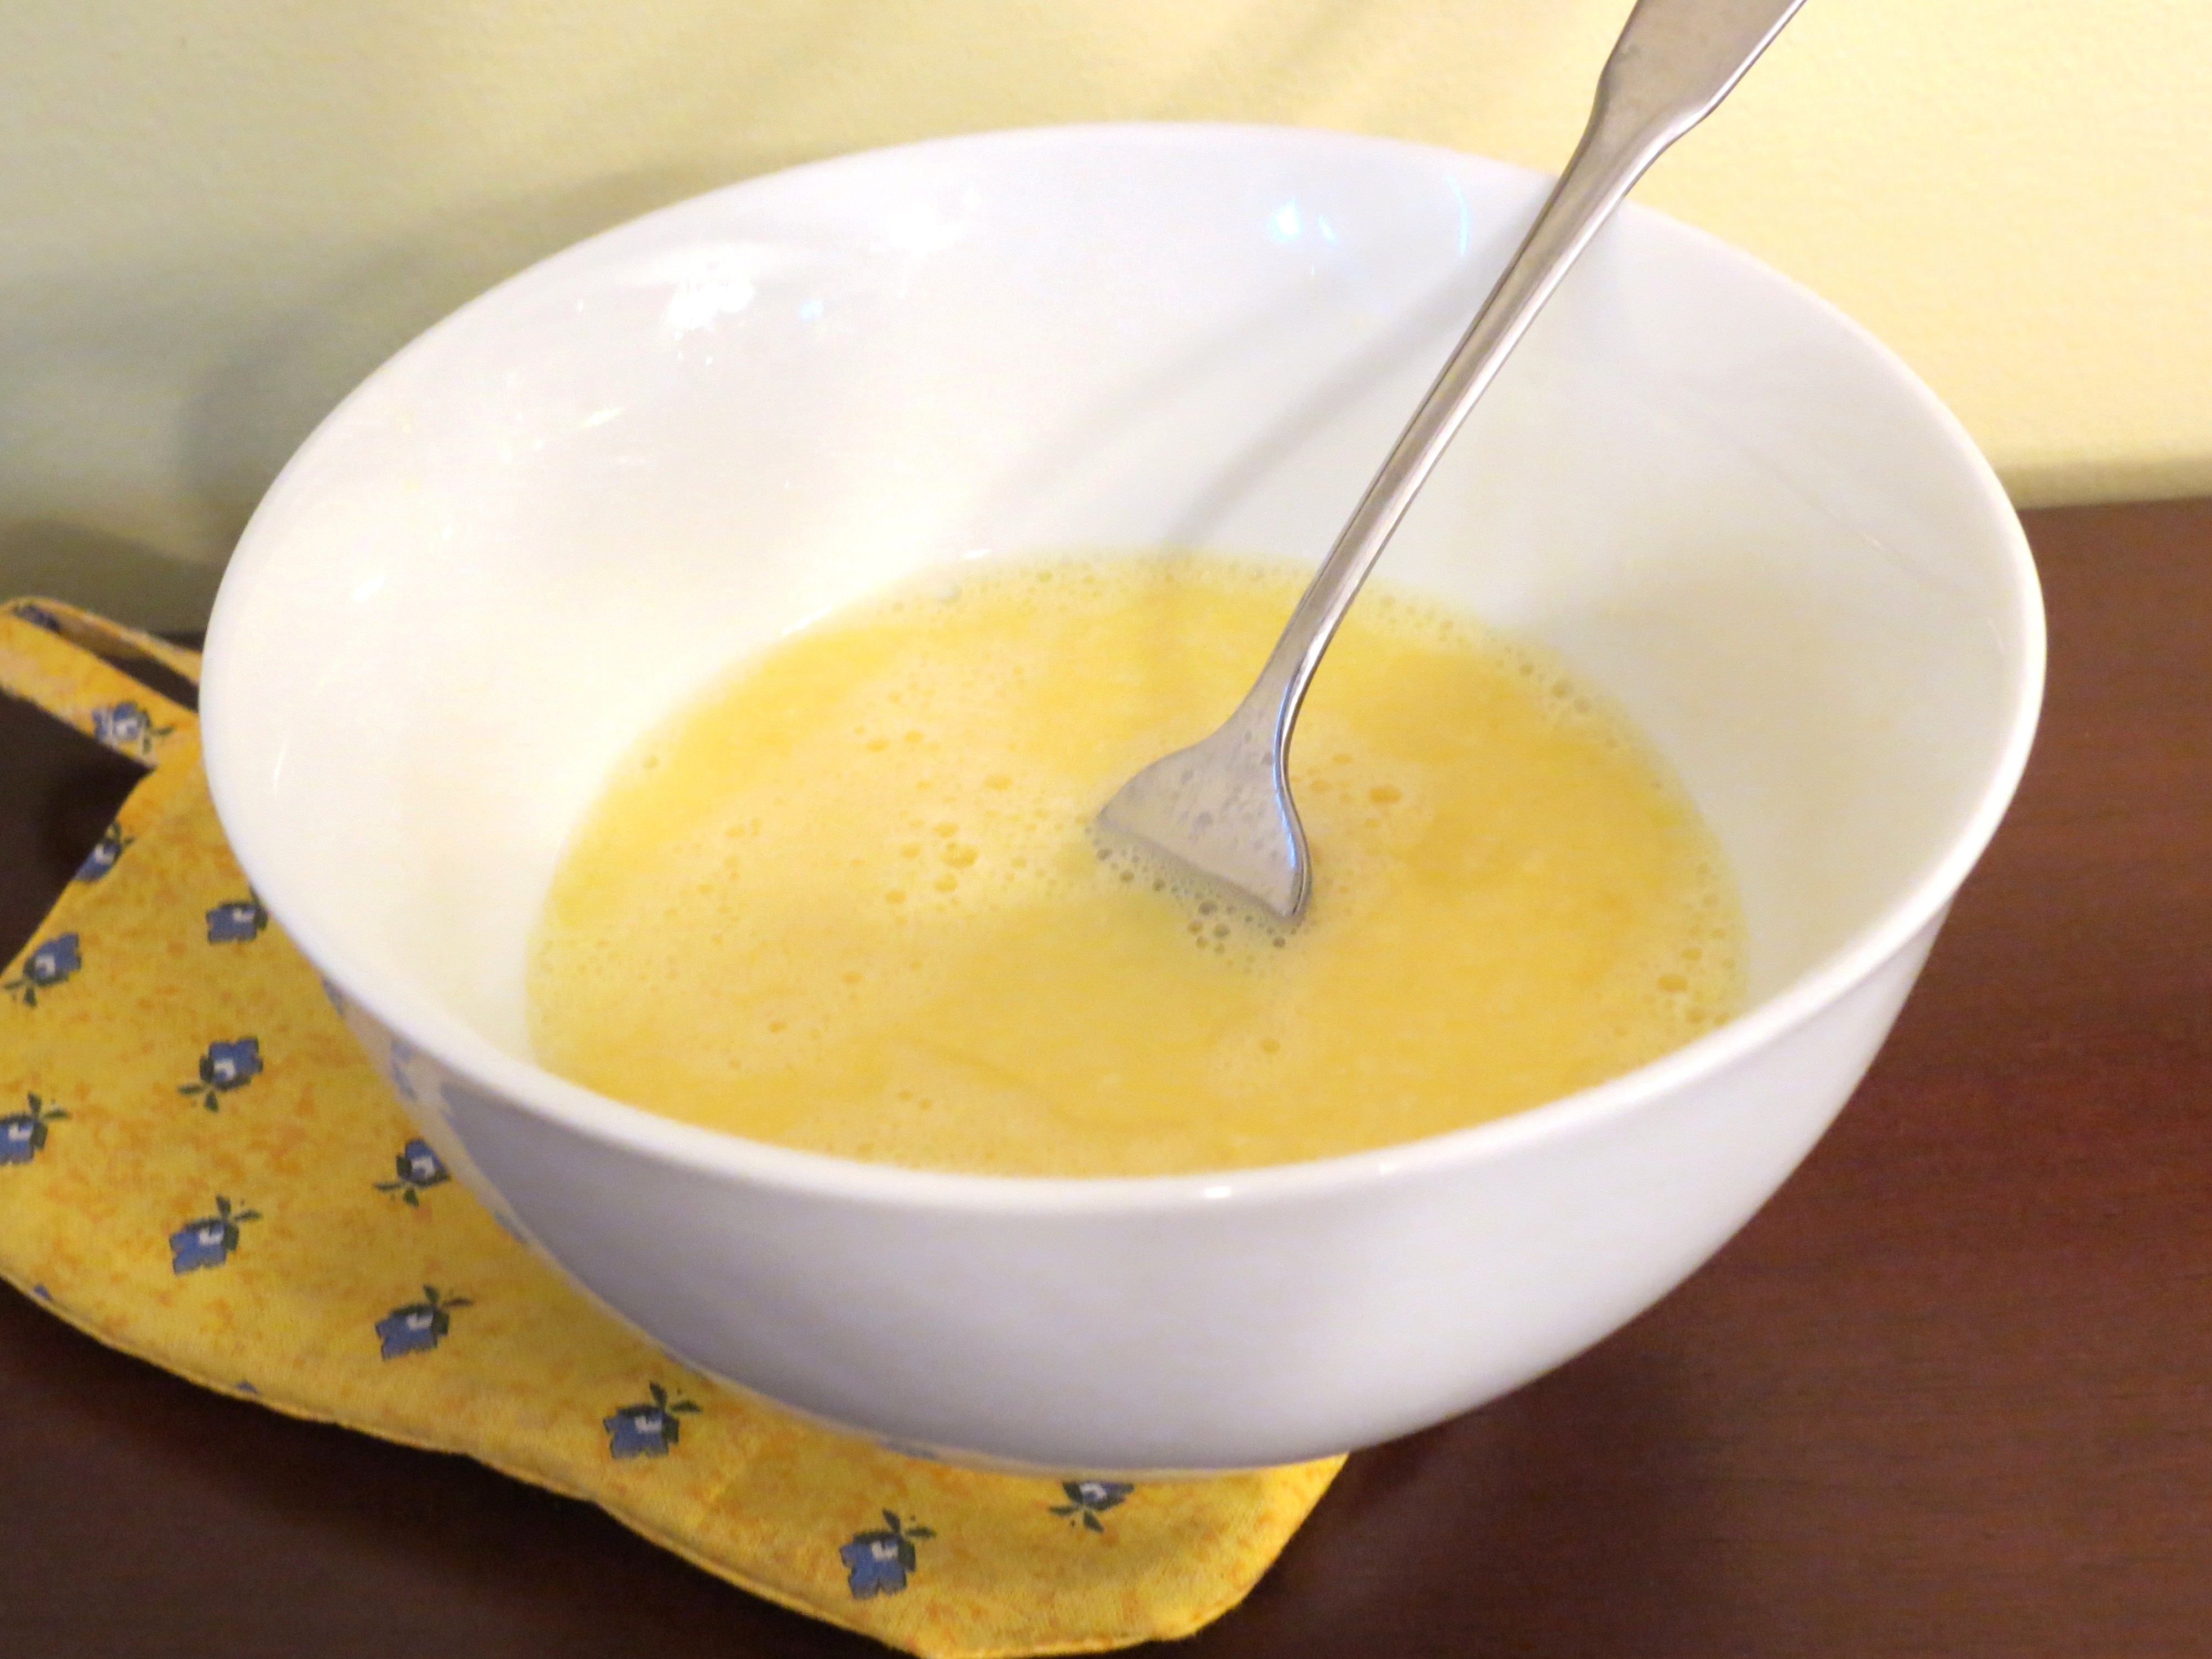
Prepare cake according to package directions BUT use the reserved pineapple juice instead of water. ++ Add water, if necessary, to the pineapple juice to equal the amount of water called for in the recipe.
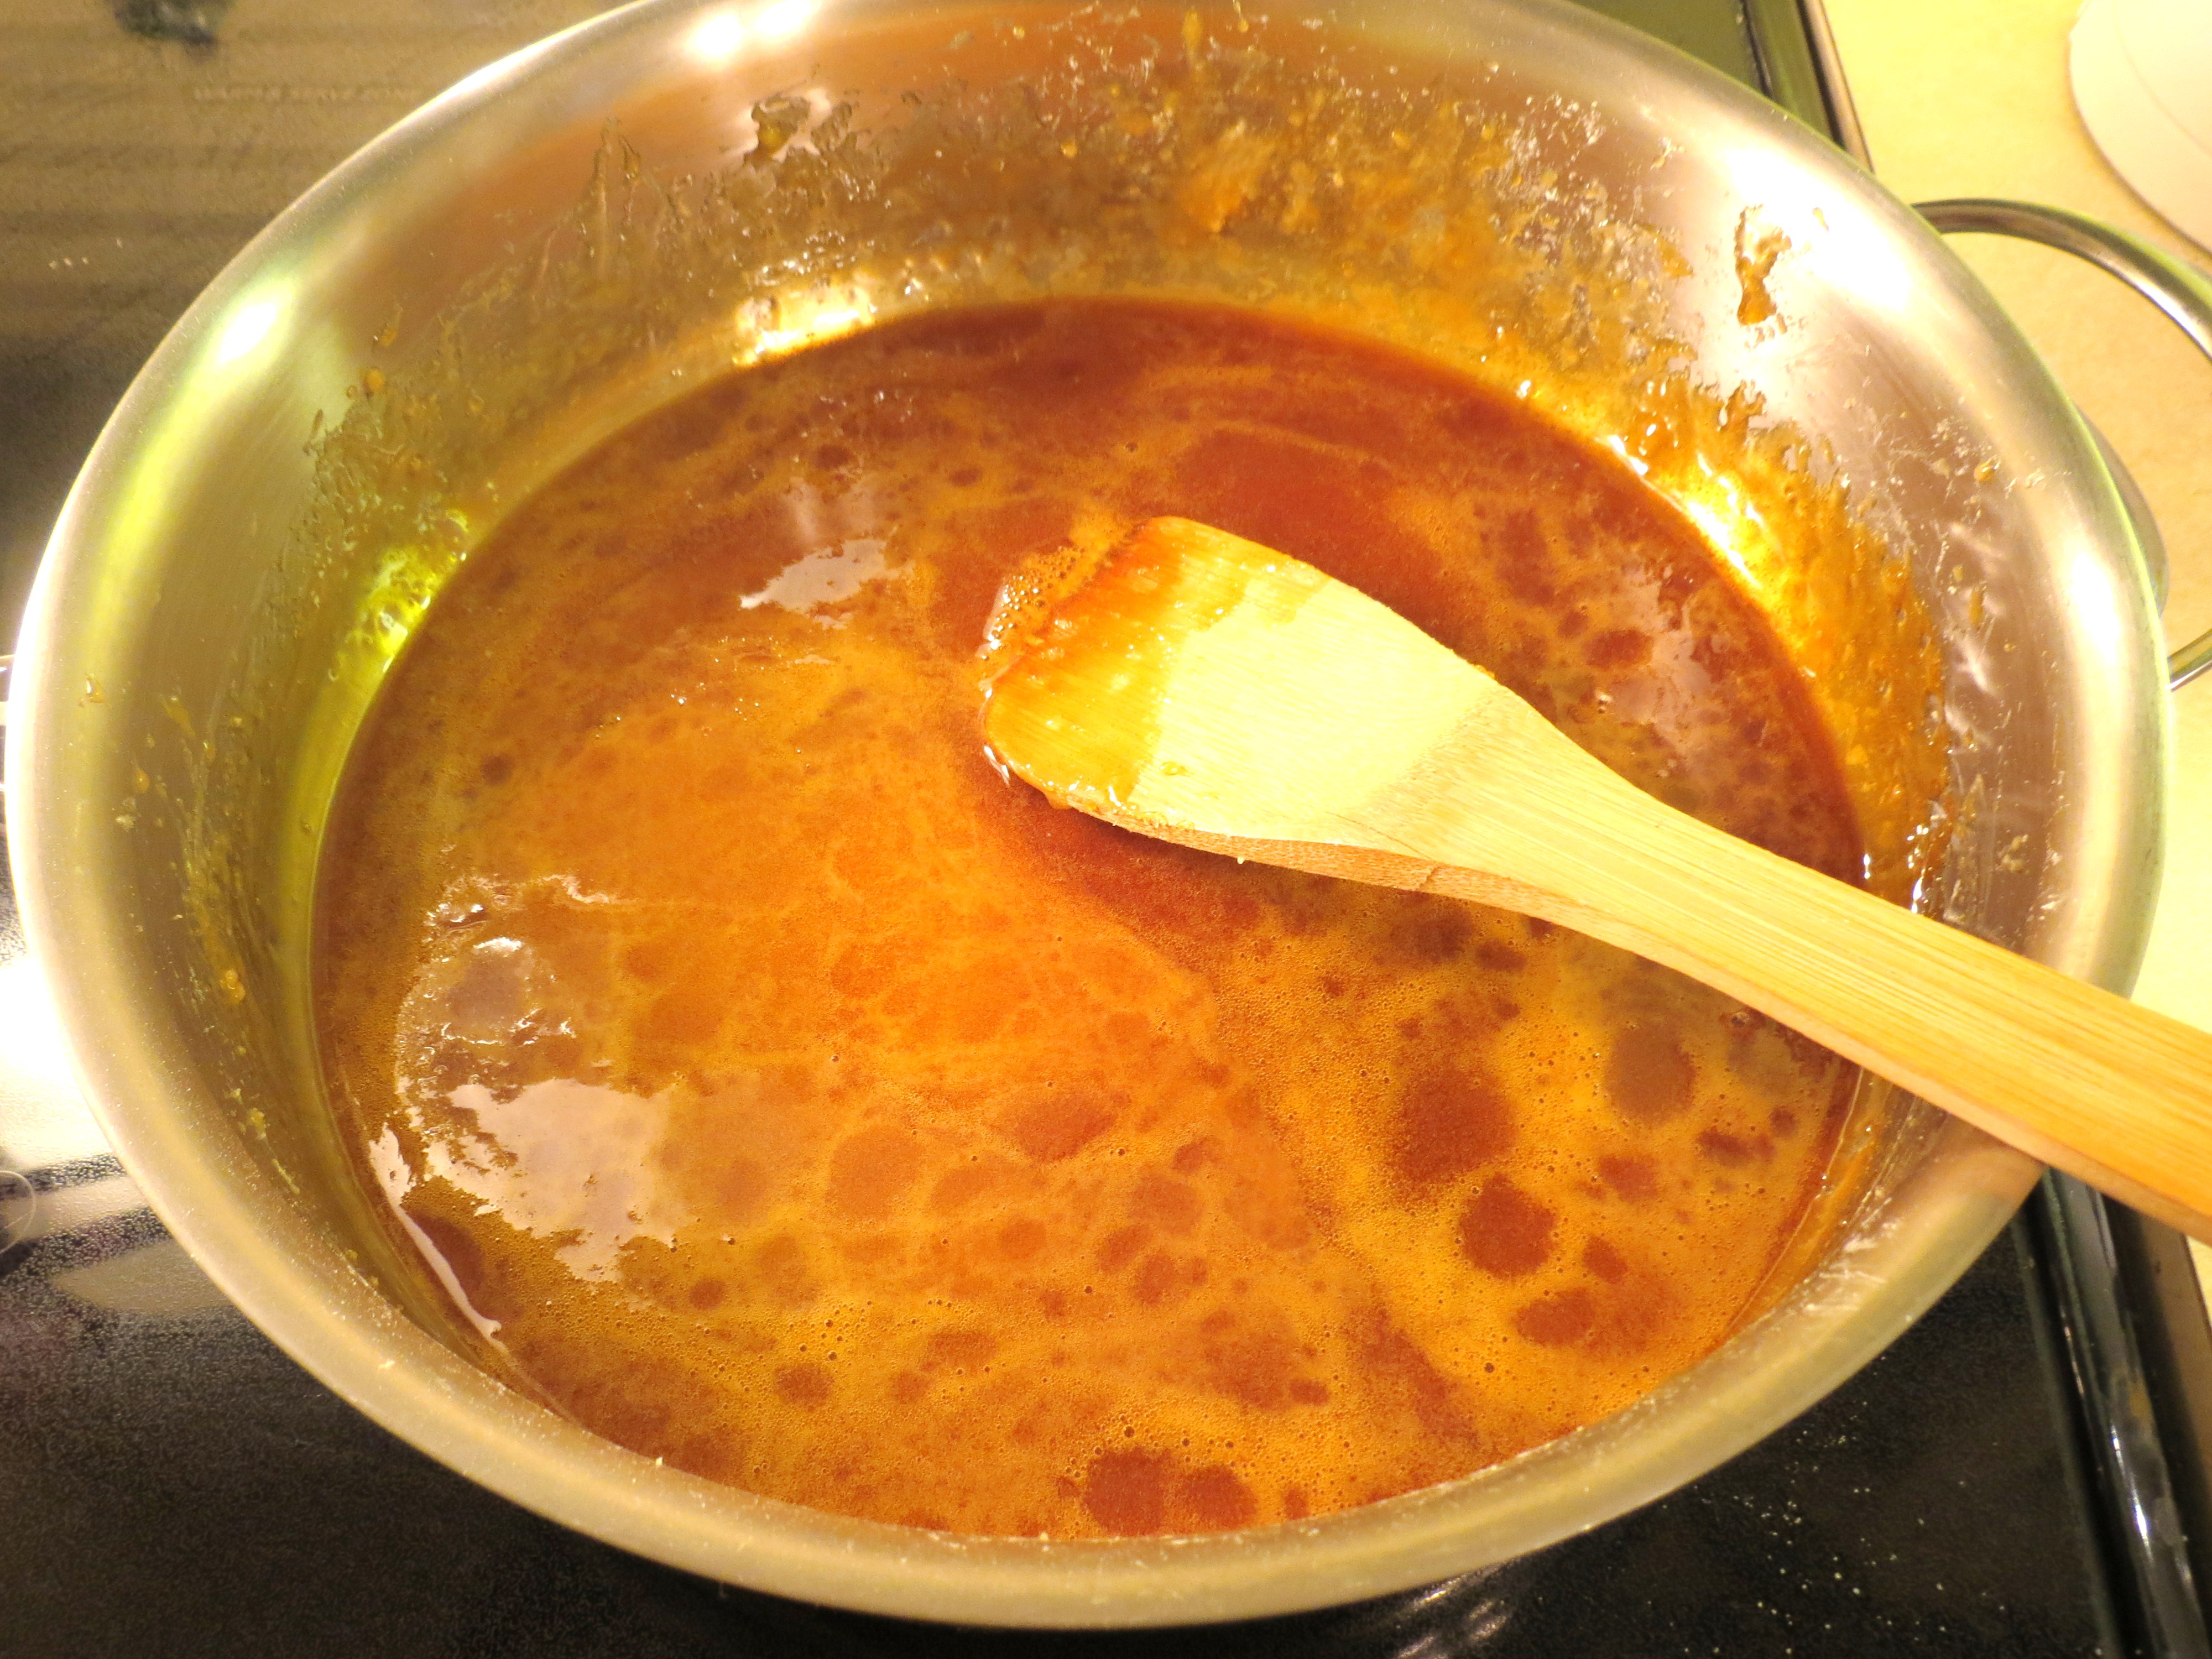
Place 1/4 cup butter in an 9′ x 9′ square pan or 9′ x 9′ round pan. Place baking pan in oven for a short time to melt the butter. ++ Keep an eye on the butter – you don’t want to burn it!
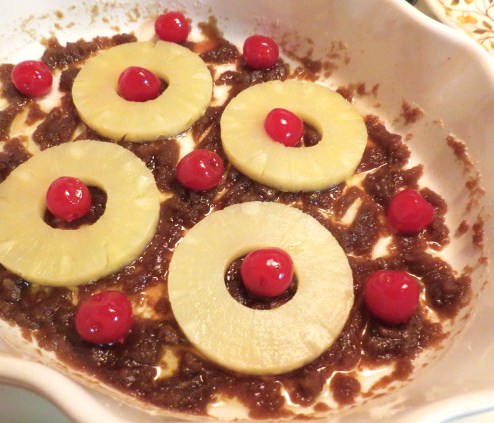
Remove pan from oven. Stir in 1/2 cup packed brown sugar and spread the butter/brown sugar mixture in the bottom of the pan.

Sprinkle on chopped Maraschino cherries, then pecans and then pineapple chunks.

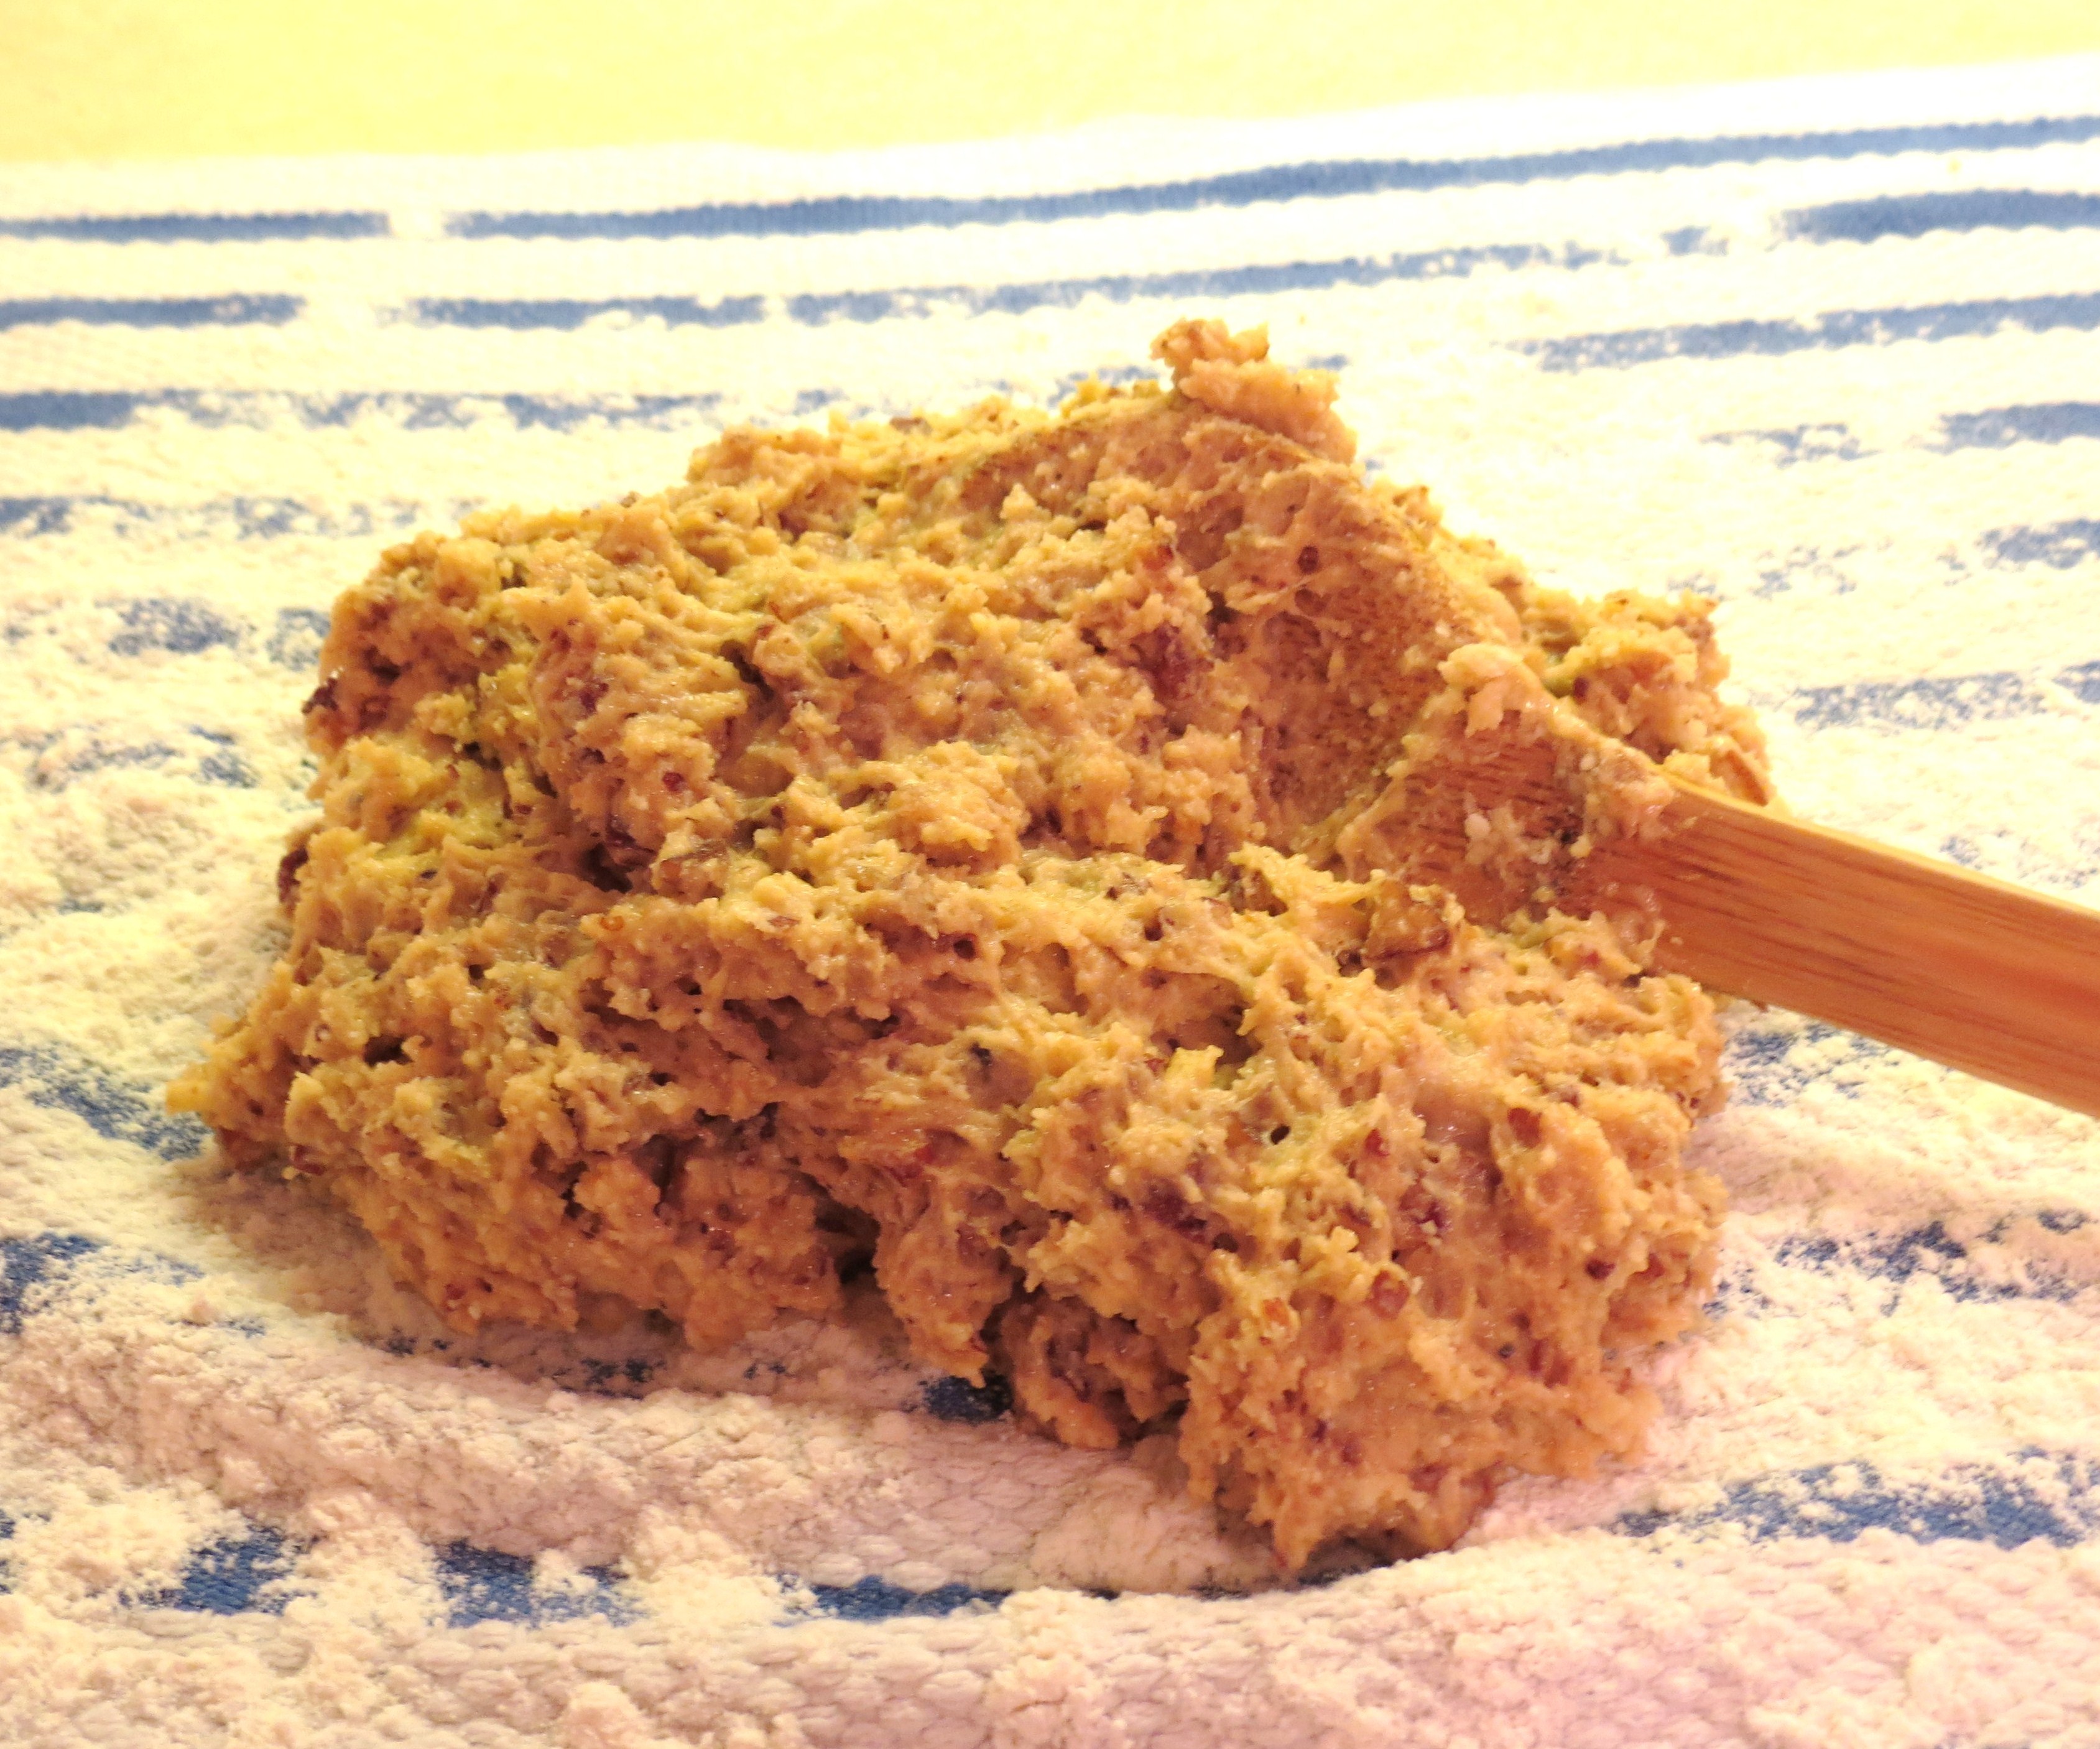
Pour prepared batter over cherries/pecans/pineapple chunks.

++Bake for 30 – 35+ minutes. ++ If you’re not sure cake is fully cooked, stick a sharp knife in the center to check for doneness. If any cake batter sticks to the knife, bake cake for a few minutes longer.
IMMEDIATELY invert pan onto a serving platter. If you wait to invert the pan, you may have a problem because, as the sugar/butter mixture begins to cool, it can stick to the pan.
I’m a firm believer that everything is better with whipped cream or ice cream, but it’s far from necessary since there’s so much flavor in Old-Fashioned Pineapple Upside-Down Cake. Enjoy!