Two versions of Thirty-Minute Pizza – Thin OR Thick Crust !!
Yup – takes about 30 minutes! You make the pizza crust, let the dough rise for 10 minutes, add your favorite pizza toppings and you’ll be eating hot, fresh, delicious homemade pizza in less time than it takes to wait for delivery!
Having a party which includes children? Prepare dough ahead and let each child make their own individual pizzas. They’ll have a great time!
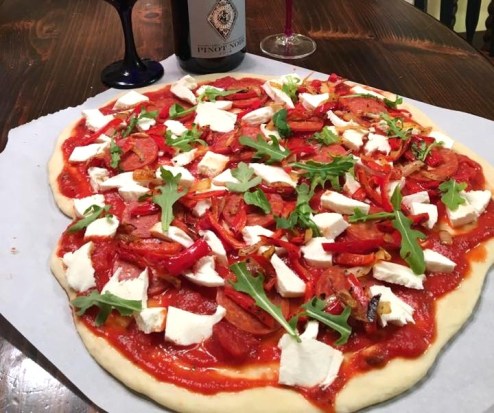
Here’s my Latest Thing – invite The Girls over for a night of wine & fresh pizza. Soo much fun!

From our last party…fresh mozzarella, sauteed red peppers & onions, pepperoni and arugula
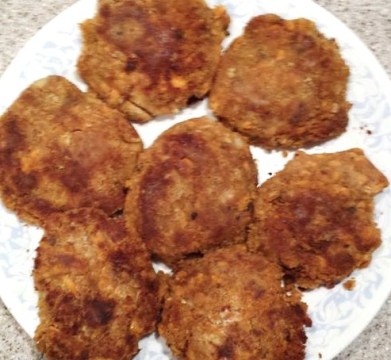
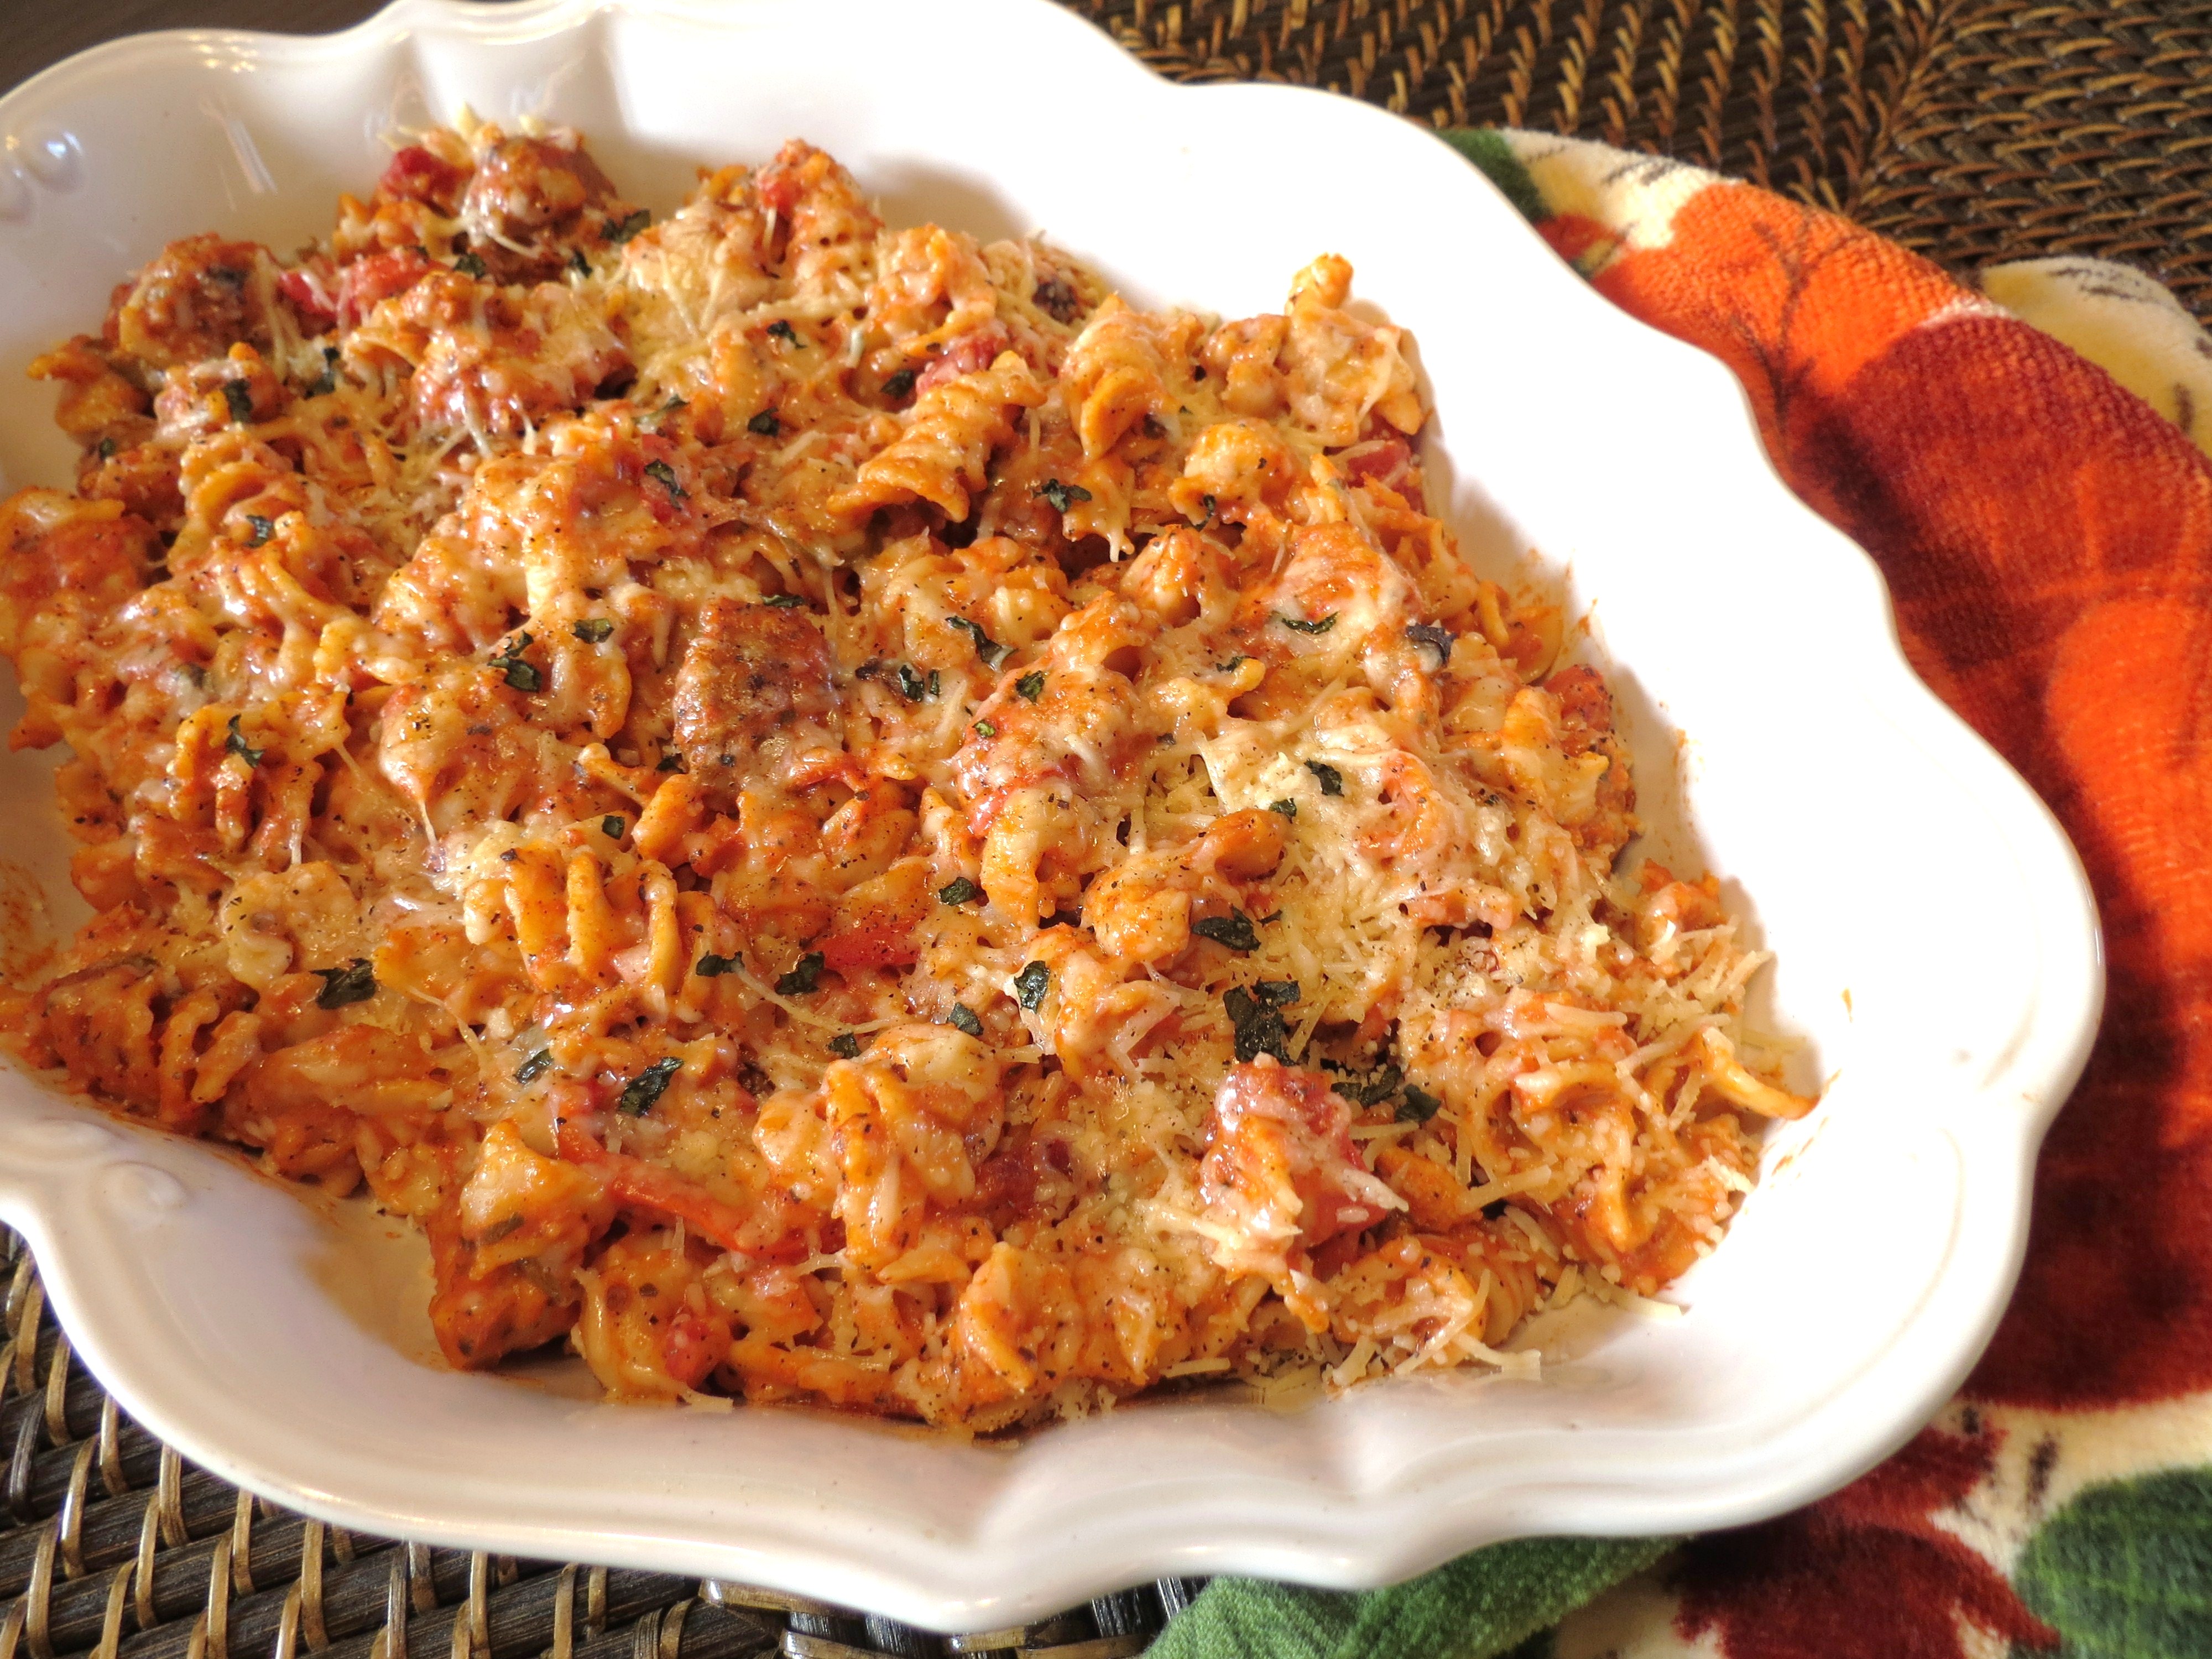
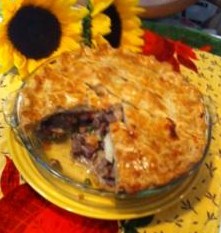
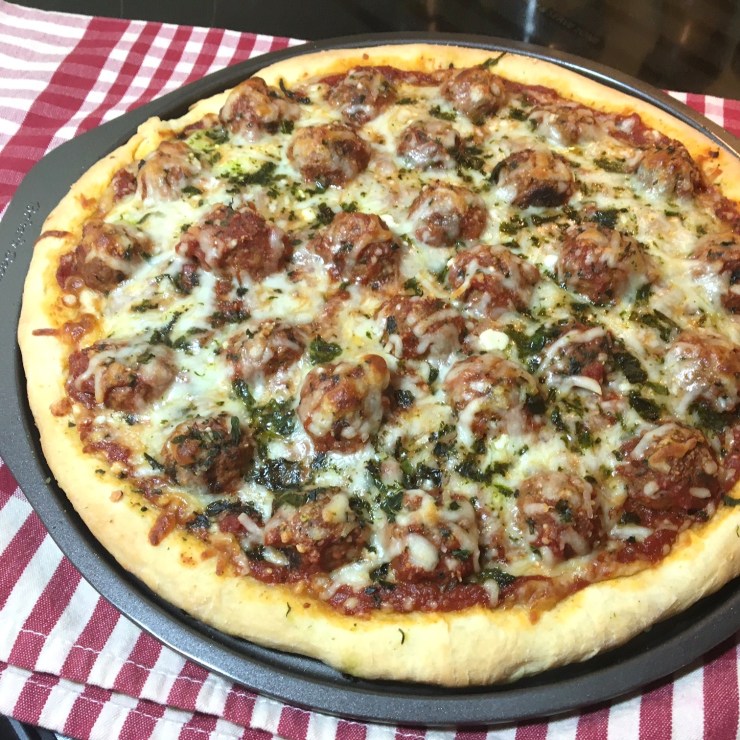
Meatball Version – Got leftover meatballs & sauce….?


My Grandchildren’s Version – Each put on exactly what they wanted on their half of the pizza. And just look at those flying hands!


Fresh Mozzarella and Fresh Basil – The first Thirty Minute Pizza I ever made.


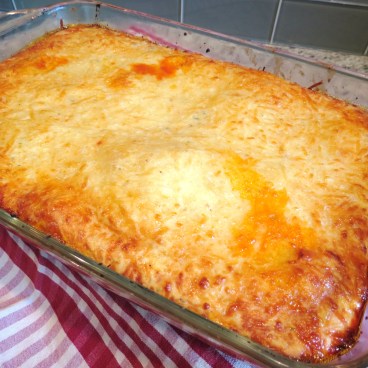
For the meatball pizza I used whatever I had in the fridge; some meatballs, spaghetti sauce and various cheeses. Once my pizza was fully ‘fitted out’, it was popped onto the lowest shelf in the oven. After 14 minutes I was happily stuffing my face with hot, delicious pizza. And, get this, I’m not usually a big pizza fan. But I’ve been known to have three pieces of Thirty Minute Pizza.
Recently I doubled the pizza crust dough recipe, put the dough in two large resealable plastic bags and refrigerated them. Actually, I made the dough two days ahead, so on the night of the party, the dough had risen so much that the bags were near to bursting.
My plan was for each of the four ‘kiddos’ who attended the party to make their own individual pizzas. And it worked like a charm. I gave each child a small piece of parchment paper, a hunk of dough and some ‘pizza fixings’. The mini individual pizzas, still on the parchment paper, were placed on a cookie sheet and baked on the lowest rack of the oven for about 13 minutes. The kids had a great time making their pizzas AND they actually ate almost all of them – which was pretty unusual since they usually eat like birds.. ; o )

Thin Crust Version – note cooking time is slightly less than Thick Crust Version !
To double the Thin Crust Version – do NOT double salt. Use 1 tsp. .. double all other ingredients
Oven at 425F Bake on lowest rack for 12 – 14 minutes.
Ingredients and Method
- 2 cups all-purpose flour – plus a bit extra when kneading the dough
- 3/4 tsp. salt
- 1 1/2 tsp. sugar
- 2 1/4 tsp. quick rise (or bread machine) yeast – OR 1 packet
- 3 Tbs olive oil ++ I used olive oil infused with basil
- 1/2 cup very warm water – 120 to 130 degrees ++ Water should feel very warm..but not quite hot.
Sauce & Toppings of Your Choice!
- pizza sauce or spaghetti sauce or etc.
- meatballs, cut in half or thirds
- pepperoni
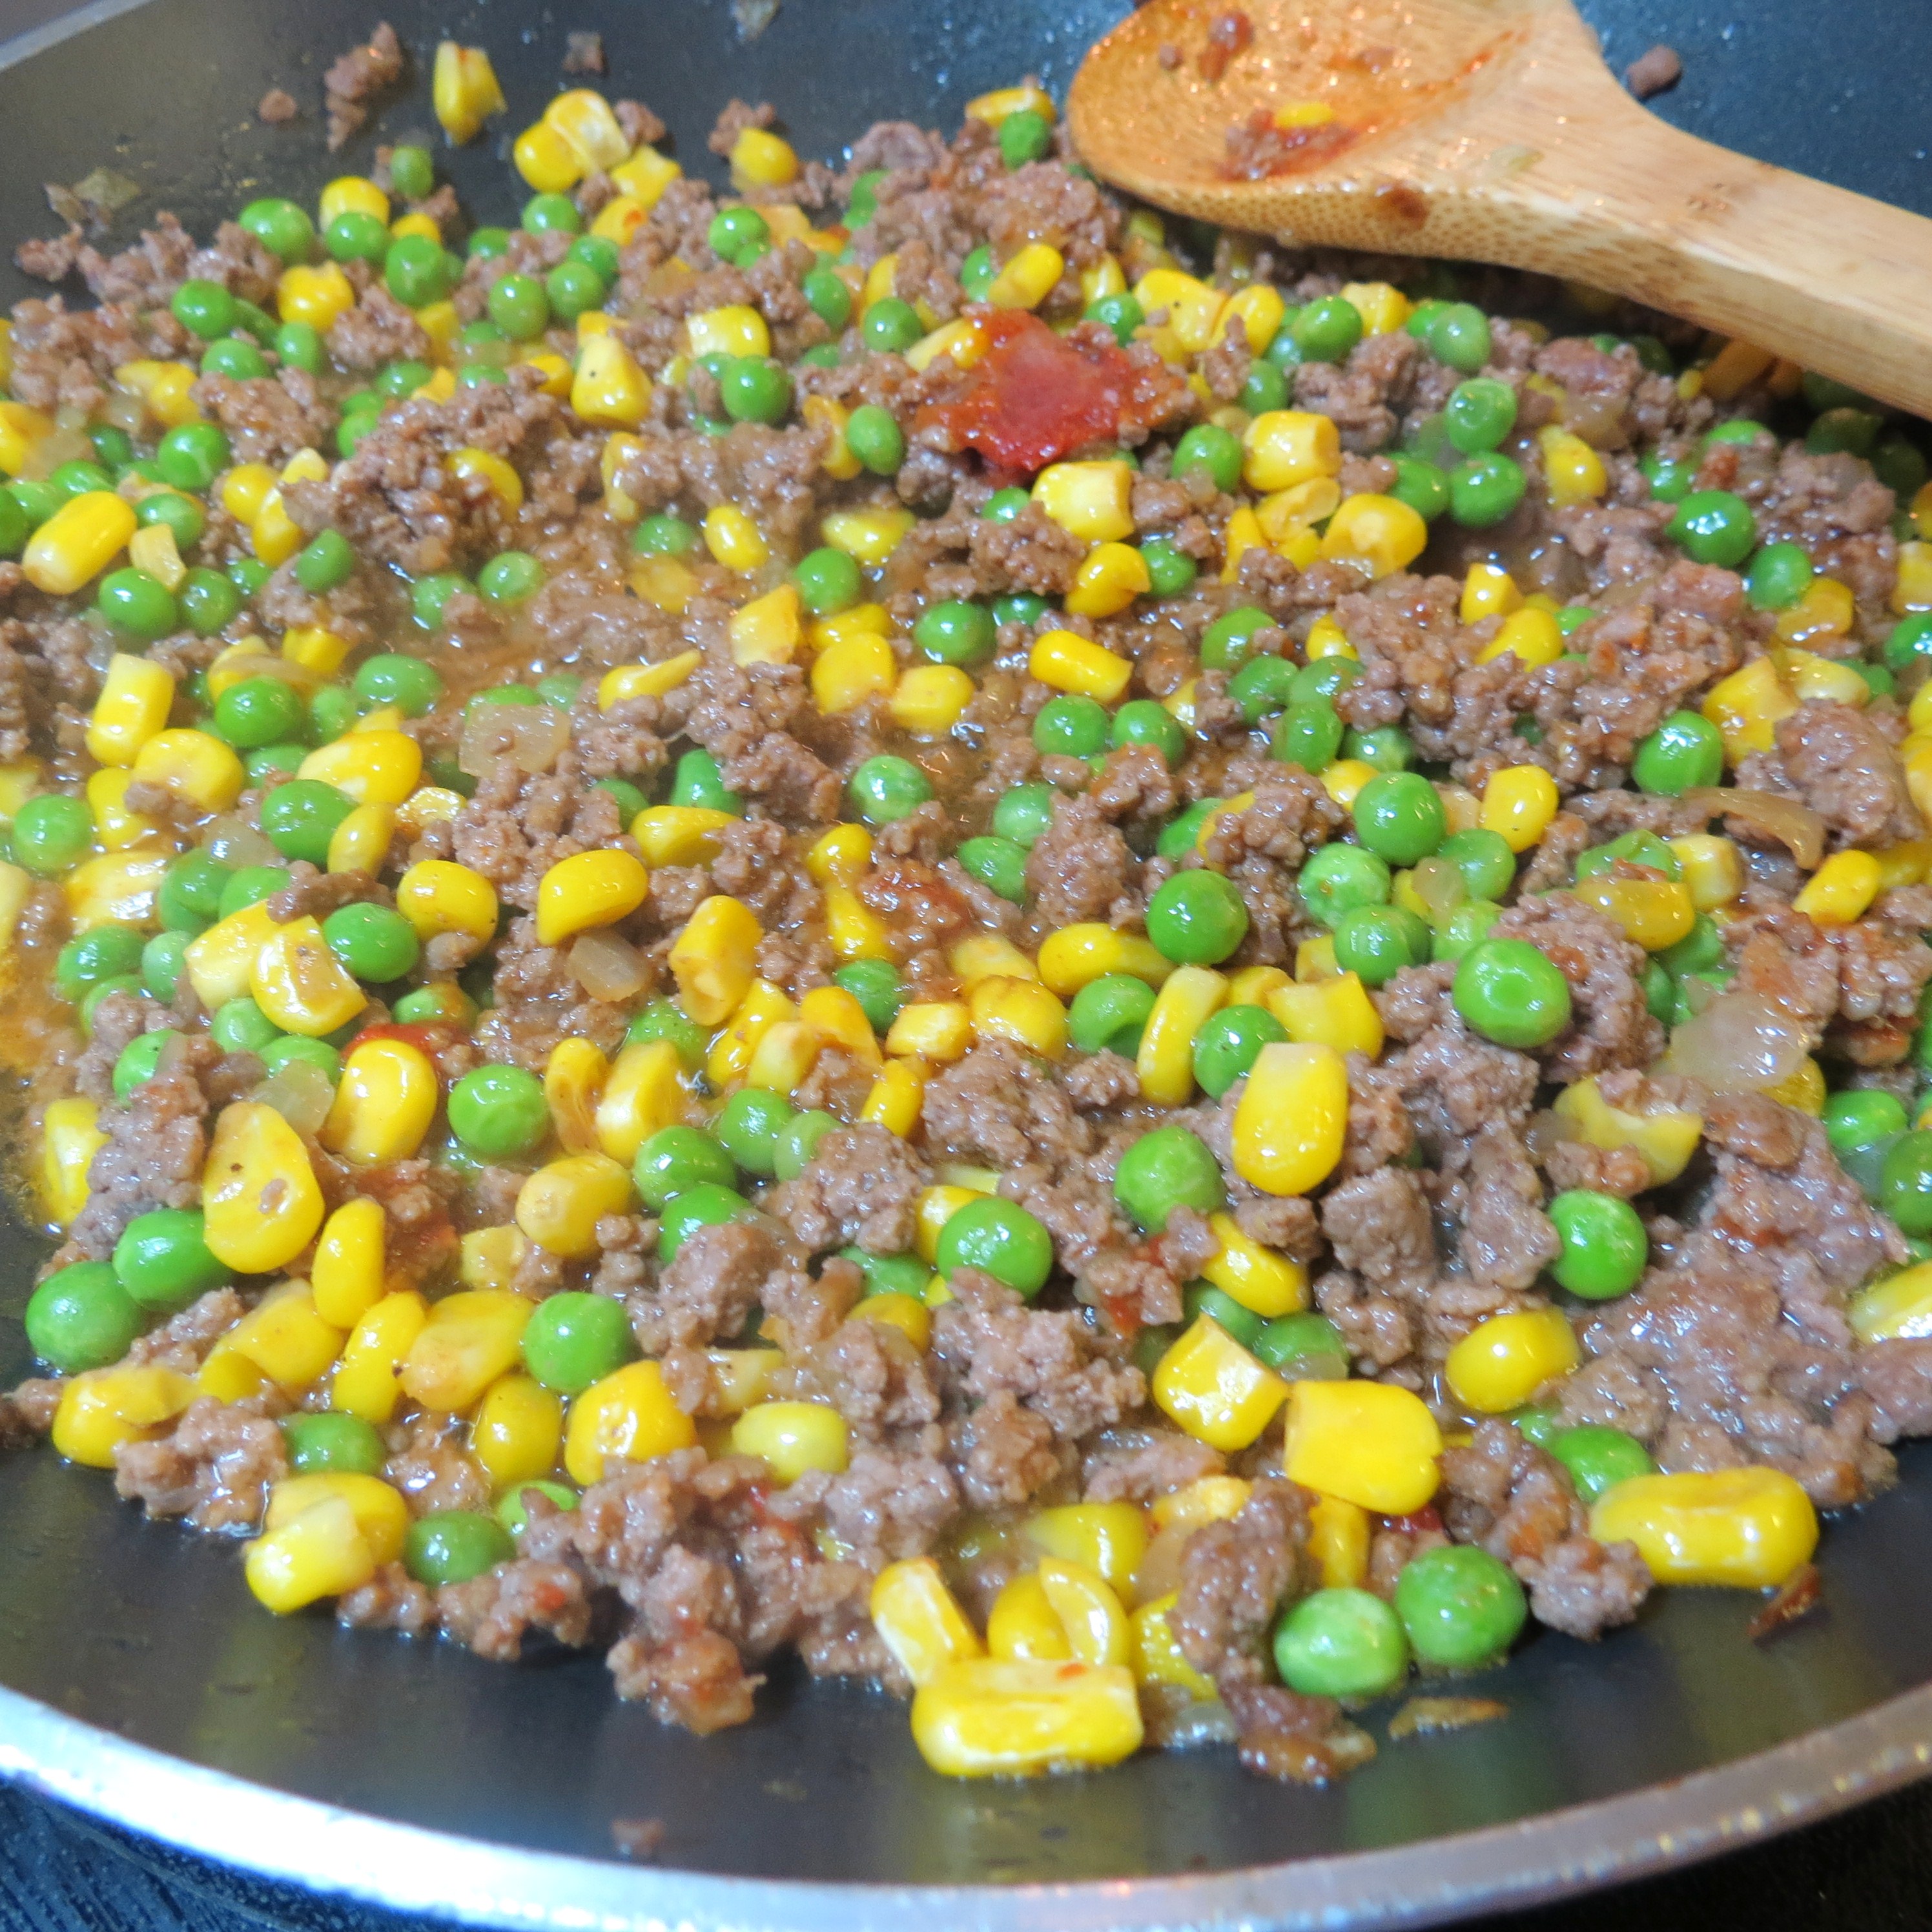
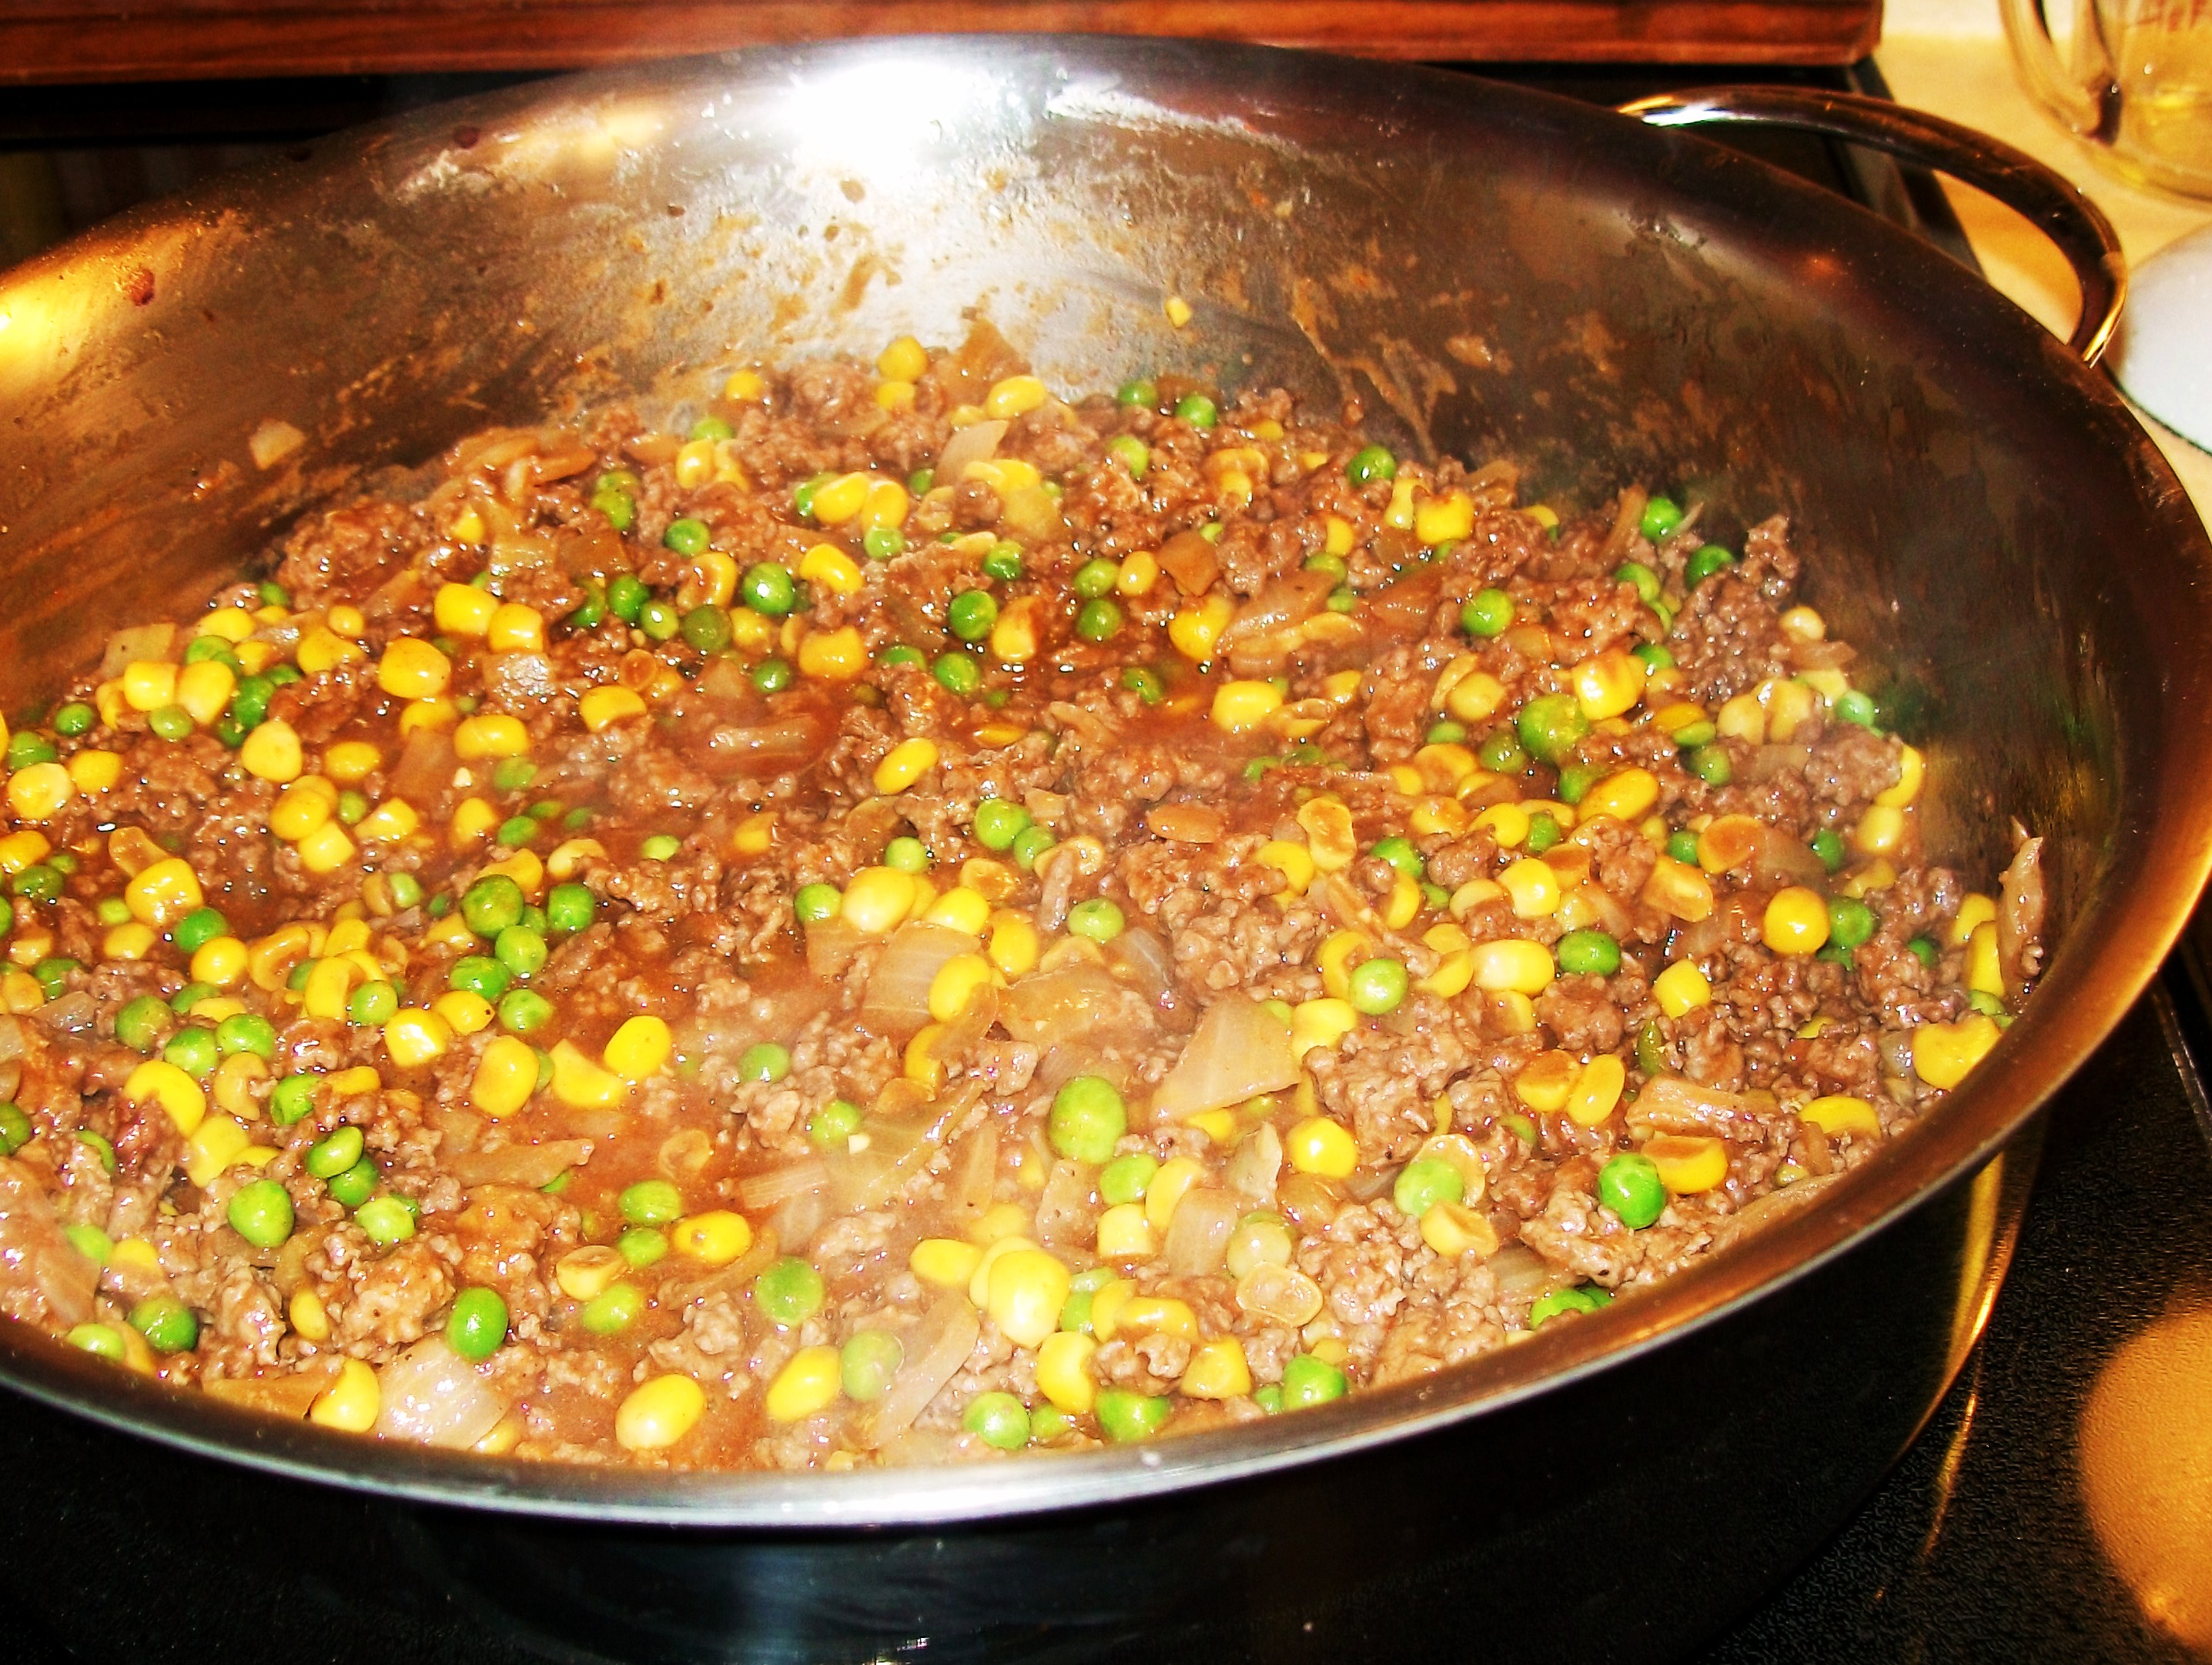
- cooked ground beef
- peppers, onions etc.
- fresh mozzarella, grated mozzarella, grated Parmesan, grated Romano etc . OR – pepper jack cheese, grated 5-cheese Italian mix…. whatever you have
- Don’t be afraid to try things like ham and slices of canned pineapple etc. YUMMY!
- Or make a White Pizza with Alfredo sauce & cheese. Or mix it up and add sliced tomatoes and fresh basil.
Method
In a good-sized bowl place 2 cups all-purpose flour, 3/4 tsp. salt, 1 tsp. sugar and 1 packet quick rise (or bread machine) yeast, which equals 2 1/4 tsp. Mix dry ingredients with a fork.
Add 3 Tbs olive oil and 1/2 cup very warm water – 120 to 130 degrees ++ Water should feel very warm..but not quite hot. Mix ingredients together with a large spoon. Towards the end it might seem as if there’s not enough water but just keep mixing in the rest of the flour and it’ll turn in a really nice dough. ++ Dough will be a stiff.
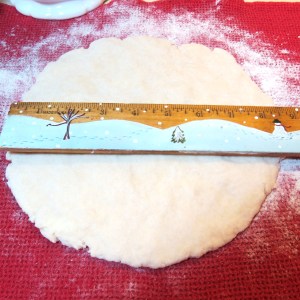
Sprinkle a little flour on the counter or a clean dish towel. Knead dough for about four minutes. Dough should be nice and elastic by this time. Place the bowl you were using over the ball of dough and let rest for 10 minutes.
++ You’re going to find this dough easy to work with. Because the dough is warm and fresh, it won’t keep shrinking back every time you try to form the it.
After letting dough rest, I suggest using your fingers to press dough into shape. Add whatever toppings you wish. Bake pizza at 425F – ON THE LOWEST SHELF OF YOUR OVEN – for 12 to 14 minutes, or until bottom is slightly browned and the crust is just a bit brown. ++ I cook the Thin Crust pizza for about 12 minutes but ovens differ.
++ I like to use a 11 1/2 inch nonstick pizza pan with holes on the bottom because it makes a crisper crust. You can also use a cookie sheet. If your cookie sheet isn’t nonstick, I recommend using parchment paper – it makes it much easier to remove the cooked pizza.
Thicker Crust Version – note cooking time is slightly different !
To double the Thicker Crust Version – do NOT double salt. Use 1 tsp. .. double all other ingredients
Ingredients and Method
- 2 1/4 cups all-purpose flour – plus a bit extra when kneading the dough
- 3/4 tsp. salt
- 1 1/2 tsp. sugar
- 2 1/4 tsp. quick rise (or bread machine) yeast – OR 1 packet
- 3 Tbs olive oil ++ I used olive oil infused with basil
- 2/3 cup very warm water – 120 to 130 degrees ++ Water should feel very warm..but not quite hot.
See TOPPINGS & METHOD above
++ Bake on lowest rack of oven set at 425F – for 12 – 15 minutes.
++ I cook the Thicker Crust pizza for 15 minutes but ovens differ. The pizza dough should be slightly browned on the bottom and the crust will just be a bit brown.
++ I like to use a 11 1/2 inch nonstick pizza pan with holes on the bottom because it makes a crisper crust. You can also use a cookie sheet. If your cookie sheet isn’t nonstick, I recommend using parchment paper – it makes it much easier to remove the cooked pizza.


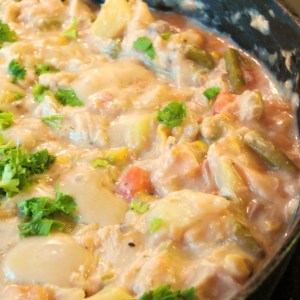
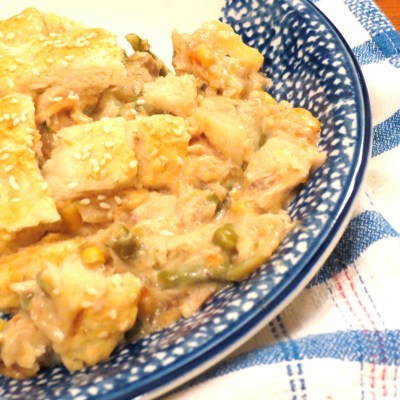
 Don’t have time to shop? Or, perhaps, its snowing and you prefer, like me today, just staying inside all snuggly? Maybe you need to put a meal together in a hurry? Never fear!! You can prepare a pretty darn delicious meal with whatever you find in your fridge, freezer or cupboard. I promise!