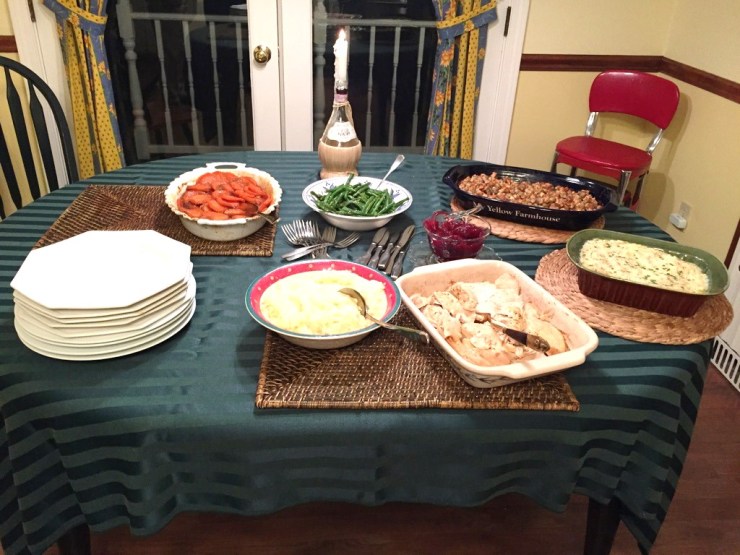

I’m leaving for the Philadelphia area Tuesday, so I’m in a hurry today – just like everyone else. Here are several great ‘make ahead’ dishes from 2014. Preparing several dishes ahead of The Big Day makes everything so much easier. Enjoy!!
Click on recipe title, which will bring you to that recipe!

Here’s the one thing you DON’T make ahead – Roasted Turkey Breast (or Turkey) with White Wine, Apples & Oranges – and Savory Gravy

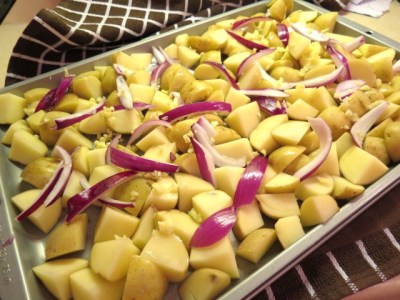
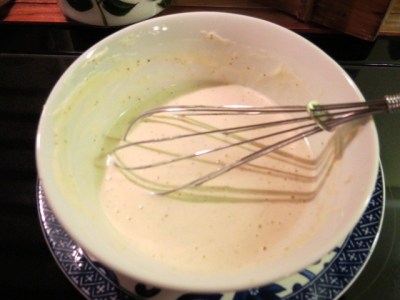
Make Ahead Mashed Potatoes with Sour Cream and Chives

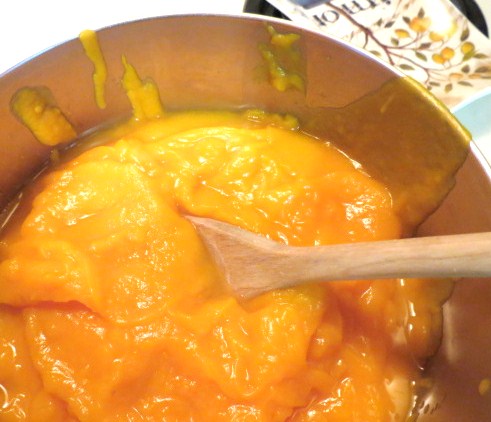
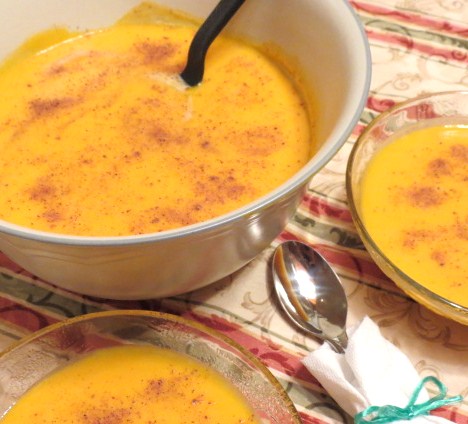
Make Ahead Sweet Potatoes with Cinnamon, Nutmeg and a Splash of Brandy

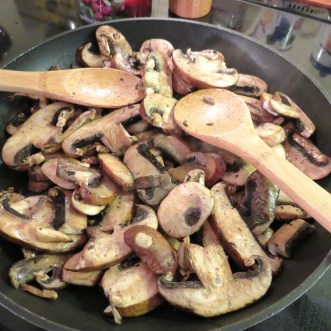
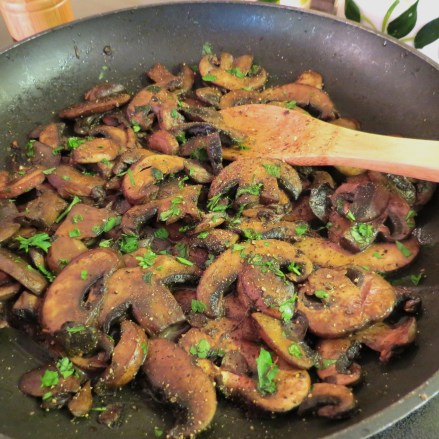
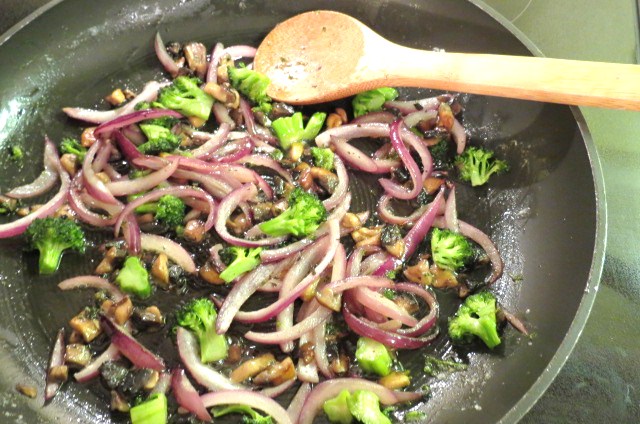
Make Ahead Herbed Stuffing with Baby Bella Mushrooms

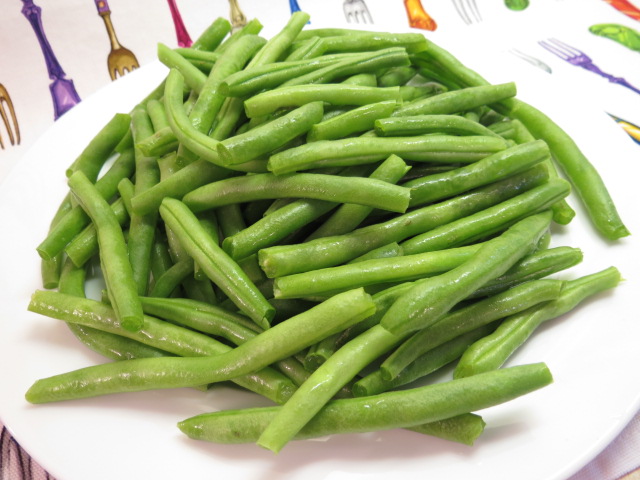
Green Beans with Browned Butter and Sesame Seeds – Browned Butter Can Be Prepared Ahead

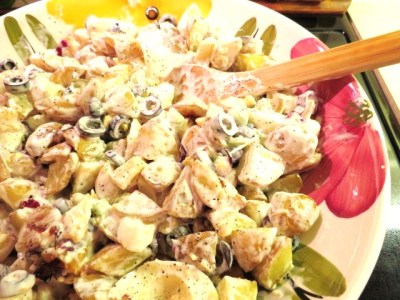
Homemade Cranberry Sauce with Apple and a Touch of Cinnamon