Hello Everyone!! I’m so sorry I haven’t posted for almost a year. Why, you may ask? Because I had been so busy preparing to move from my beloved Yellow Farmhouse in Massachusetts to St. Augustine, Florida. (I arrived in St. Augustine in July… with, probably, 1/4 of the ‘stuff’ I used to have..)
There was a lifetime of wonderful family memories etc. stored in the attic, the cellar, the barn AND the loft in the barn. Most of it was ‘good stuff’ and I hate throwing good things away. Luckily, there’s a well traveled road down the hill in back of the farmhouse. We put ‘stuff’ down there and off it would go, often in minutes. I tell you, we made a lot of people very happy! One woman told me she was helping her daughter set up her new apartment with my ‘stuff’.
I’ll be flying out tomorrow so I can spend the holidays in Massachusetts, and I’m really looking forward to seeimg family and friends. There’s a lot I miss about New England – but there’s tons of things I love about living here in St. Augustine! (More about that soon..)
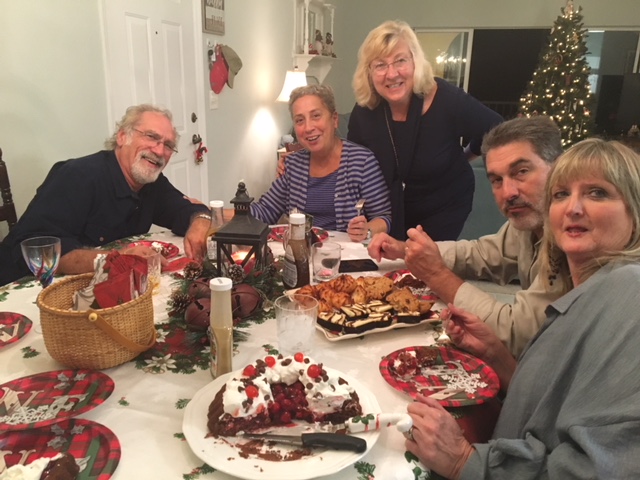
In the meantime I haven’t packed a thing for my trip, which is so typical of me. I spent today day cleaning up and reorganizing things after my very first dinner party in St. Augustine. I have a BIG problem with ‘time management’. I tend to underestimate how just long it will take to do things, so, as usual, as my guests arrived last night my kitchen was a disaster area. (It never matters as long as the food is good, the wine is flowing and the conversation is lively.)

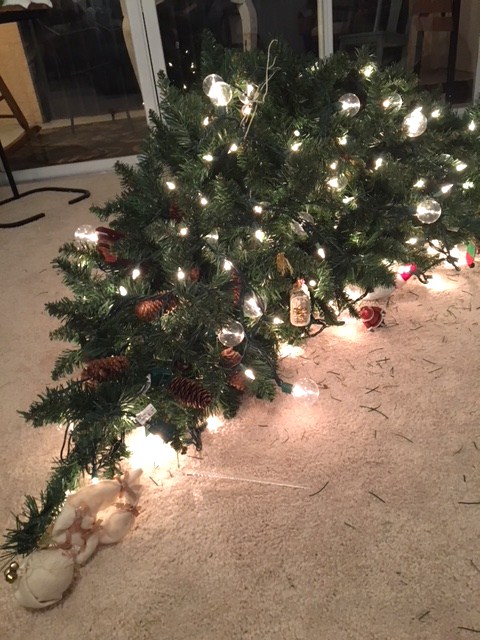
EPIC CHRISTMAS TREE FAIL !!
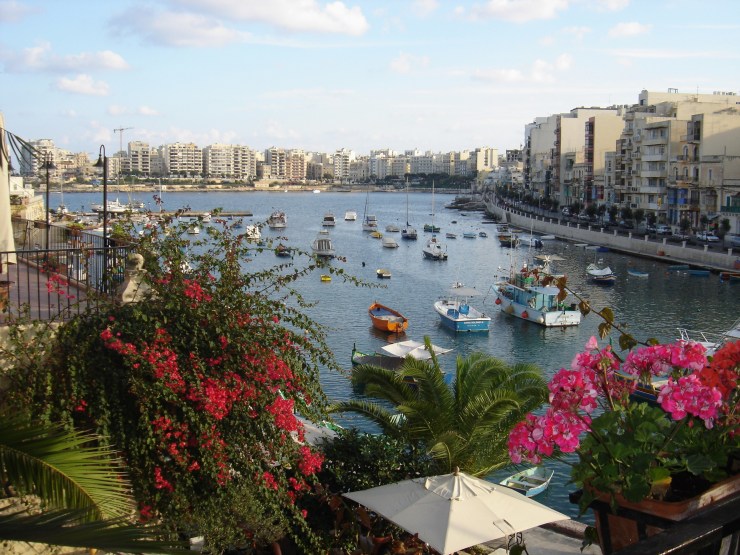
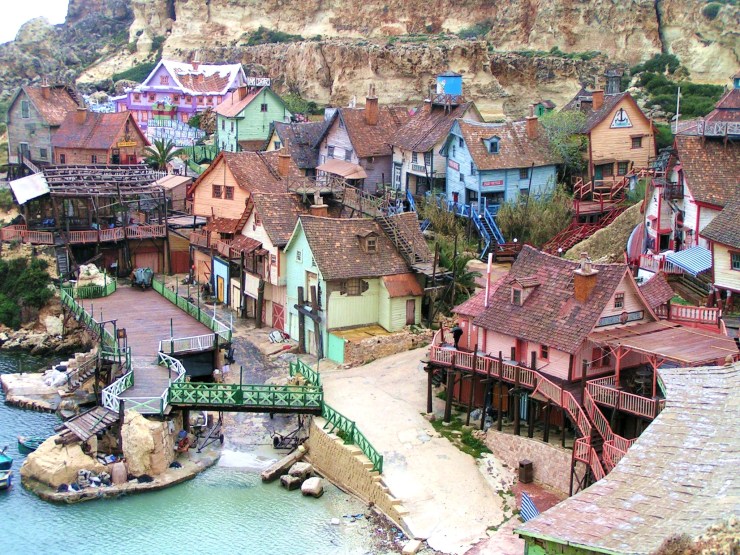
I purchased this little tree when we lived in Malta. I loved this little tree. I spent a few hours decorating it a few days ago until every little glass icicle and every treasured ornament was in the ‘best place’. Then … I moved the tree, maybe, five inches… and the stand broke…. ; o (
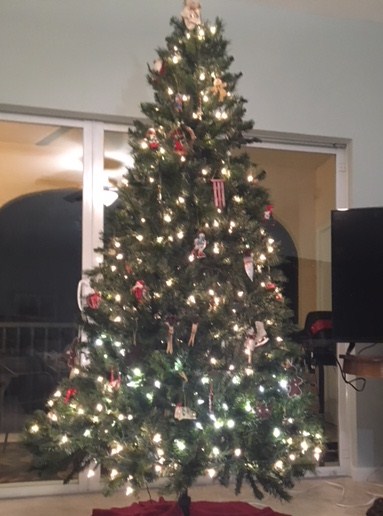
New and Improved Christmas Tree!!
A nice seven footer, so ALL the ornaments fit!! Believe me… I was ‘this close’ to saying, ‘Never-mind’…
One of my twin sons and his family – plus my twin brother and his wife – were here in St. Augustine for Thanksgiving. It was wonderful!! If you ever get a chance, come to St. Augustine during the holidays. The Nights of Lights is beautiful to behold. A large part of the city is lit up with thousands and thousands of lights – it’s gorgeous.
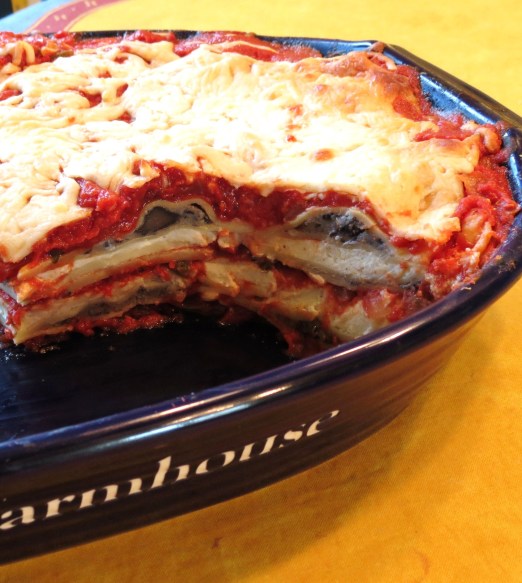
The night before Thanksgiving I served my Ravioli Lasagna. Get this – I made it the day before… so no mess. Why can’t I be like that more often!!
Wishing you all the merriest of holidays!! (And now… I guess I’ll have to get started on packing that suitcase…)
Here’s the link to the recipe for Ravioli Lasagna
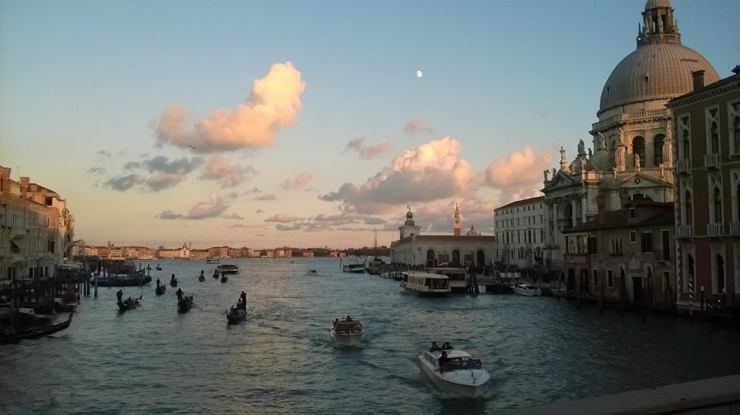
++ Top Photo of St. Augustine – stock image…


")

")