‘The Popover Experiment’ – Recipe No. 3 …. Chewy Outside – Fluffy & Moist Inside

‘My Yellow Farmhouse Popovers’ – Chewy Outside – Fluffy & Moist Inside 

++ UPDATE  – – It’s ironic, sometimes, how something small may turn into something rather special.  I had a huge urge for popovers, so I started preparing some about 9:00 tonight.  A really good neighbor/friend who NEVER comes over late showed up…. with some problems.  Let me tell you – two of these popovers, smothered in butter, and a glass of red wine – plus a good chat – seemed to be exactly what was needed!!

This is the final recipe of ‘The Popover Experiment’.  I hope my little experiment enticed you to not only make popovers, but also to try a bit of experimenting on your own. As it turns out, these particular popovers – which I’m calling ‘My Yellow Farmhouse Popovers’ – are my favorites. My neighbor Frank, who’s sometimes a bit hard to please, said these are his favorites too. And I quote…”.. best popover yet. Nice buttery flavor, crispy on the outside and smooth & chewy on the inside.”  Thanks Frank !!

I adapted this popover recipe from one featured on FLEUR de SEL, one of my favorite blogs. (The original recipe comes from Neiman Marcus.)  FLEUR de SEL‘s popovers look yummy, so check out her recipe as part of your own ‘Popover Experiment’. (Mine look a bit “weird” compared to hers!)  http://fleurdeselsf.com/2013/10/08/popovers-with-strawberry-butter/

If you’ve been following ‘The Popover Experiment’, you know I sometimes mess up when it comes to lowering the oven temperature approximately half way through the baking time…. well…. I did it AGAIN. The original recipe calls for the temperature to be lowered to 375F, yet, once again, I set the temperature at 350F.  No matter, the popovers turned out great. I also changed the cooking time at 350F down to 20 minutes. The popovers looked done after 20 minutes at 350F – a nice dark, golden brown – so I took them out! 

Tip !!  If using older popover pans without nonstick coating, butter each section.

Tip !!  If using muffin tins or ramekins, butter each section. You’re going to have too much batter for a six-cup muffin pan, so use a 12-cup pan. Fill each section 1/3 full, and fill any empty sections with water. The popovers won’t be as big as those made in the new style popover pans but they’ll be wonderful.

Yield – 6 popovers, if using a popover tin.     8 to 10 popovers, if using ramekins/muffin tin.

Ingredients & Method  

+ Grease pans – recipe contains NO BUTTER !!  

+ Oven at 450F for…. 15 minutes     Then lower heat to 350F…. for 20 – 25 minutes

  • 3 large eggs
  • 1 3/4 cup whole milk  (You can try 2% if you wish but I recommend whole milk.)
  • 2 cups flour
  • 3/4 tsp. salt
  • 1/2 tsp. baking POWDER

USE - eggs - last popover recipePut some very warm water in a small bowl and place in the 3 eggs. Allow the eggs to sit in the water while you organize your ingredients.

Warm up 1 3/4 cups milk a bit in the microwave and set aside. (You don’t want the milk HOT, you’re just trying to take the chill out.)

In another bowl, stir together 2 cups flour, 3/4 tsp. salt & 1/2 tsp. baking POWDER.

USE - last popover recipeRemove the eggs from the warm water and break into a small bowl. (I suggest using a small bowl because the small size helps incorporate air into the eggs.)  Beat eggs on HIGH speed for 3 minutes. The eggs will become foamy with a light lemon color.

Pour the well-beaten eggs into a large bowl. With the mixer now set on LOW, stir in the warmed milk. Mix the eggs and milk briefly. With the mixer again set on LOW, gradually combine the flour/salt/baking powder mixture.

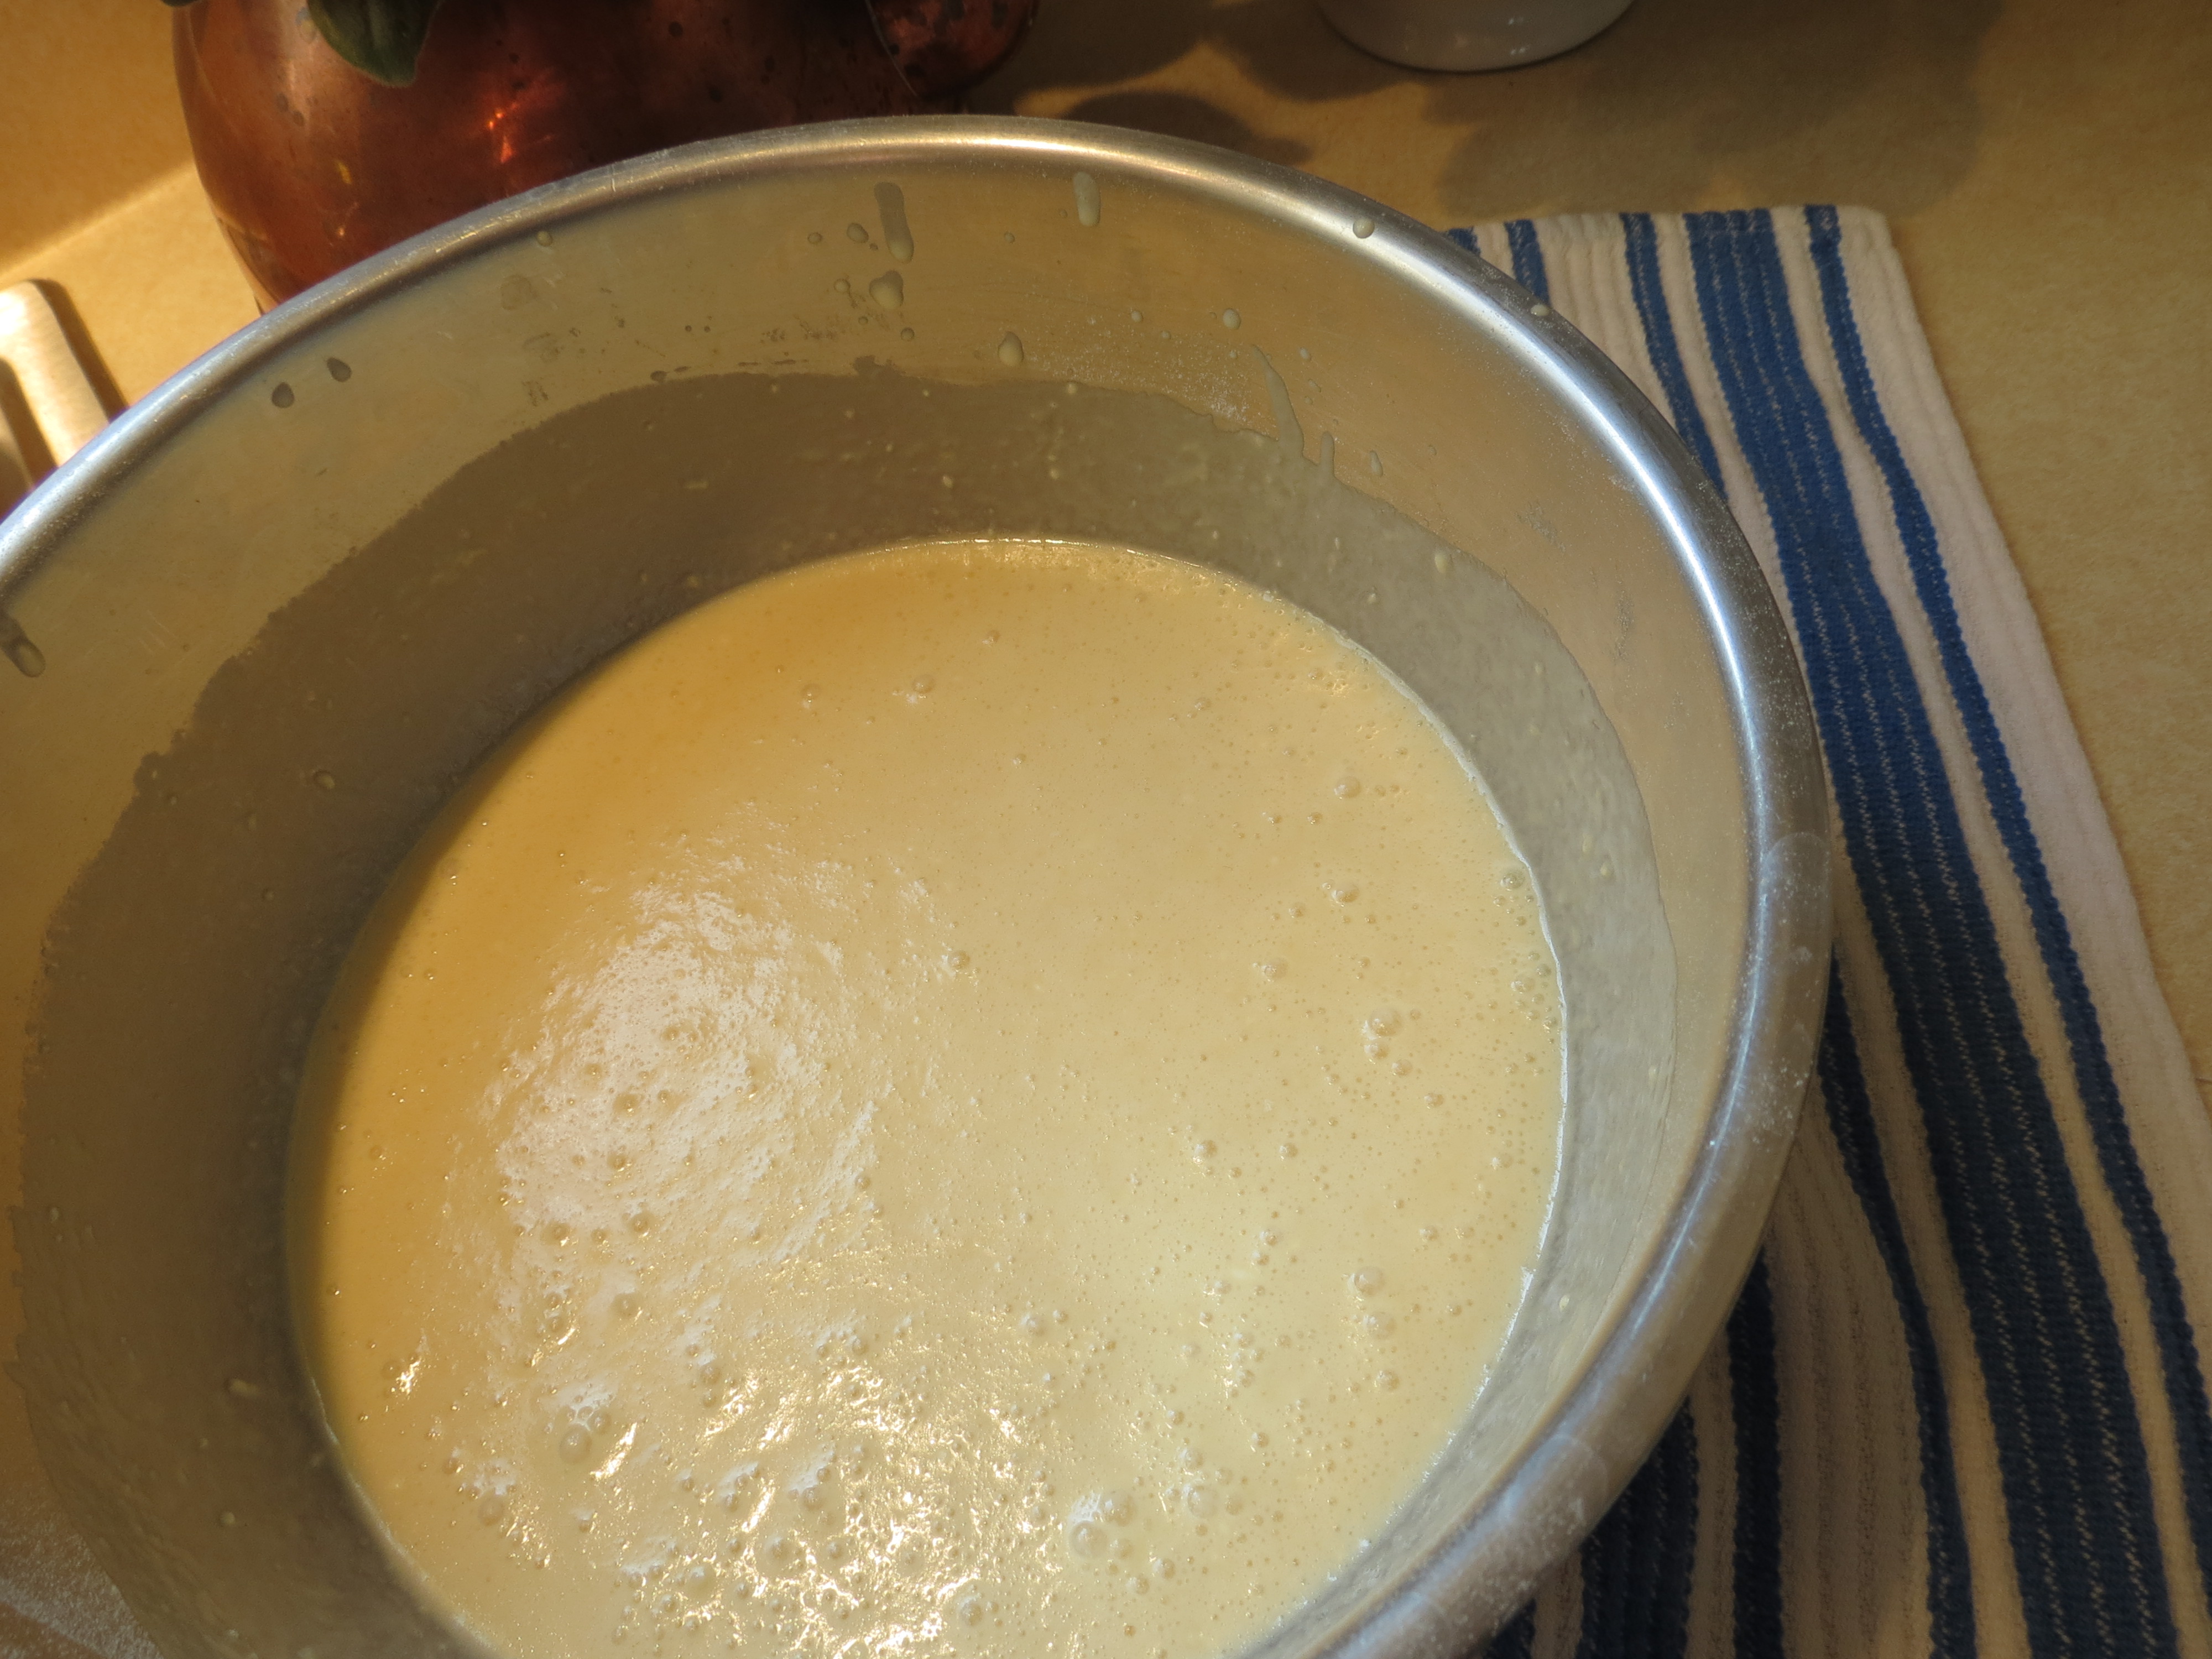
Raise the mixer speed to MEDIUM and continue to beat for 2 minutes longer. By this time the batter will have become slightly thicker & nice and smooth.

First try at Popovers - Fanny Farmer Recipe 001Fill the 6 GREASED sections of your popover pan equally – they’ll be about 3/4’s of the way full.

Now this is important – and I didn’t remember to do it!

++ Place a baking sheet on the lower shelf below the popovers.  (To help with clean up, you might want to cover the baking sheet with aluminum foil.) 

If you don’t place the pan on a baking sheet, you’ll end up will some lovely spills on the bottom of your oven – like I did !

Place your pan – set on a baking sheet – into the center of a 450F preheated oven.  Bake for 15 minutes.   Lower the temperature to 350F and bake for another 20 minutes. ++ Don’t be surprised if there’s a lot of steam coming out your oven vent when you bake these popovers.  ++ If you popovers don’t look browned enough – bake for another 5 minutes.  Ovens vary, so always be prepared to be flexible!

Pierce popovers with a sharp knife once you remove them from the oven so the steam can vent, then remove them from the pan. (I like to lay the popovers on their side to cool.) These are excellent at room temperature but, of course, they’re always best eaten right out of the oven.

USE - last popover recipe  (2)Here’s an idea for a lovely fruit butter you can spread on your nice, warm popovers. Believe me, I sure had a Happy Tummy when I was eating a few of these.

Beat 1 stick softened butter until light & fluffy. Add 1/4 cup preserves. I used cherry preserves but you could use strawberry or blueberry or even orange marmalade. Enjoy!!

+

'My Yellow Farmhouse Popovers' - My Yellow Farmhouse.com

‘The Popover Experiment’ – Recipe No. 2. Popovers are a bit higher & insides are slightly drier.

Julia Child’s Popover Recipe – with your choice of two different temperature settings, which result in two slightly different types of popovers!

These particular popovers came out super high and crusty ’cause I actually left them in a bit too long at 425F – maybe 3 – 4 minutes too long ’cause I took some popovers over to a neighbor – and got back a bit too late.. No biggy – I just cooked them 3 – 4 minutes less at 350F.   And, can you believe I did the same thing AGAIN while talking to a friend on the phone…. I re-set the timer but forgot to lower the oven temperature. The popovers were HUGE. Which just goes to show that popovers are actually ‘pretty forgiving’!

++ For the Dos & Don’ts of making popovers – plus information I discovered while researching popover recipes AND the first recipe in ‘The Popover Experiment” – go to  https://myyellowfarmhouse.wordpress.com/2013/11/01/the-popover-experiment-recipe-no-1-brown-n-crusty-on-the-outside-soft-creamy-on-the-inside/

While working on ‘The Popover Experiment’, I tried two recipes attributed to Julia Child. The first recipe (from the book Baking with Julia) I found at vintagekitchen.com.  It  has the same list of ingredients as the recipe called Julia Child Popovers, found on Blogspot. The difference between the two recipes is the temperature at the end, when you lower the heat from 425F. Vintage Kitchen instructs lowering the heat to 350F, which results in a slightly bigger and slightly drier popover than the recipe from Blogspot.

The Blogspot recipe recommends lowering the temperature to 325F. The resulting popovers are slightly smaller in size, with softer exteriors and creamy centers. These popovers tend to deflate more than the popovers cooked (at the end) at 350F, but that’s no biggy because they’ll probably be gone before they have time to cool and deflate.

Tip !!  If using older popover pans without nonstick coating, butter each section.

Tip !!  If using muffin tins or ramekins, butter each section. You’re going to have too much batter for a six-cup muffin pan, so use a 12-cup pan. Fill each section 1/3 full, and fill any empty sections with water. The popovers won’t be as big as those made in the new style popover pans but they’ll be wonderful.

 Yield6 popovers if using popover tin.    8 to 10 popovers if using ramekins/muffin tin.

For softer popovers – –  425F  for 25 minutes…  then lower to 325F for 15 – 20 minutes

For crustier popovers – – 425F for 25 minutes… then lower to 350F for 15 – 20 minutes

        INGREDIENTS & METHOD

  • 1 cup WHOLE milk (or 2%)
  • 3 eggs
  • 2 Tbs. melted butter
  • 1 cup flour
  • 1/2 tsp. salt

In a medium bowl, whisk or beat 1 cup WHOLE milk (or 2%), 3 eggs, 2 Tbs. melted butter, 1 cup flour and 1/2 salt until well blended. (If you have a few small lumps, that’s OK.)

USE - Try Number 3 -all ingredients bowl

Fill each section of your popover pan equally with the batter. (There’s no need to butter your popover pan if its nonstick. Otherwise, it’s probably wise to butter it, just to be sure.)

First try at Popovers - Fanny Farmer Recipe 001

++ For smaller, creaminer-in-the middle popovers, bake at 425F for 25 minutes, then lower heat to 325F for 15 – 20 minutes.

++  For larger, drier popovers, lower heat to 350F for 15 – 20 minutes.

Your popovers are done when they’re puffed & lightly browned. I don’t know about you – but I think it’s rather magical how popover puff!!  Recipes usually warn about opening the oven, but, if it’s at the very end, it won’t make any difference.

Immediately after removing popovers from oven, pierce each with a sharp knife to release steam. Popovers are best served immediately. However, if you wish to save some for later, I recommend laying each popover on its side on a cooling rack until cooled, then covering each with plastic wrap.  Enjoy !!

USE - end photo - Popovers -

The Popover Experiment – Recipe No. 1 – Brown ‘n Crusty on the Outside, Soft & Creamy on the Inside

The Popover Experiment – Recipe No. 1 – Fanny Farmer Cookbook’s Popovers – Brown ‘n Crusty Outside and Creamy Inside.

++ UPDATE  – – ‘Joy the Baker’ has posted a recipe for popover ‘bites’ with cinnamon & sugar. They look delightful and delicious –  http://joythebaker.com/2014/10/weekend-casual-cinnamon-sugar-popovers/

I’ve made so many popovers during the past week that my head is spinning with different recipes and methods!  I really enjoyed the experience – popovers are always easy to make and delicious, which made choosing just three recipes a tad difficult. My top three recipes vary a bit in ingredients, temperature and results – but each produces wonderful popovers. I eliminated several somewhat complicated popover recipes once I realized all that fuss wasn’t necessary as the results were about the same as the easier recipes.

Recipe No. 1 of ‘The Popover Experiment’ – Fanny Farmer Cookbook’s Popovers                Makes  6 Popovers  

Recipe attributed to Julia Child  but, as far as I know, the recipe was prepared by Marion Cunningham, editor at the time of the Fanny Farmer Cookbook, when she appeared on Julia Child’s cooking program. Hence, I’m giving credit to the Fanny Farmer Cookbook.

++ These popovers are not as large as more modern recipes, but the insides are delicate & creamy. 

Fanny Farmer Popovers - My Yellow Farmhouse

Tip !!  If using older popover pans without nonstick coating, butter each section.

Tip !!  If using muffin tins or ramekins, butter each section. You’re going to have too much batter for a six-cup muffin pan, so use a 12-cup pan. Fill each section 1/3 full, and fill any empty sections with water. The popovers won’t be as big as those made in the new style popover pans but they’ll be wonderful.  Yield – 8 to 10 popovers (if using ramekins/muffin tins).

      Oven at 425F for 15 minutes        Then, lower to 350F for an additional 20 minutes

Ingredients & Method   

  • 2 eggs
  • 1/4  cups milk (whole or 2%)    I used full-fat milk.
  • 1 Tbs. melted butter
  • 1 cup flour
  • 1/2 tsp. salt

In a medium bowl, whisk (or beat) 2 eggs, 1 Tbs. melted butter & 1 1/4 cups milk.

milk, eggs, butter - The Popover Experiment - My Yellow Farmhouse.com

Add 1 cup flour & 1/2 tsp. salt.

Flour, Salt and Butter etc. - for popovers - My Yellow Farmhouse.com

Whisk or beat until just combined. If there’s a few lumps, that’s OK.  Also, don’t be alarmed if the milk has turned the melted butter into teeny lumps. It makes absolutely no difference.

Batter - The Popover Experiment - My Yellow Farmhouse.com

First try at Popovers - Fanny Farmer Recipe 001Pour batter equally into your popover pan compartments.

Bake at 425F for 15 minutes.    Then lower heat to 350F  –  bake for an additional 20 minutes.

Pierce popovers with a sharp knife once you remove them from the oven so the steam can vent, then remove them from the pan. (I like to lay the popovers on their side to cool.)

These are excellent at room temperature but, of course, they’re always best eaten right out of the oven. However, if you wish to save some for later, I recommend laying each popover on its side on a cooling rack until cooled, then covering each with plastic wrap.   Enjoy !!

‘The Popover Experiment’  – Recipe No 2  – Julia Child’s Recipe –  Popovers are slightly higher than the 1st recipe & the insides are slightly drier. (Of course they’re delicious – it’s from Julia Child !) https://myyellowfarmhouse.wordpress.com/2013/11/01/the-popover-experiment-recipe-no-2-popovers-are-a-bit-higher-insides-are-slightly-drier/

USE - Popovers - 2nd try - Julia Child

‘The Popover Experiment’ – Recipe No. 3    –   ‘My Yellow Farmhouse Popovers’  – Chewy on the Outside, Fluffy & Moist Inside  https://myyellowfarmhouse.com/2013/11/12/the-popover-experiment-recipe-no-3-chewy-outside-fluffy-inside/

3rd popover recipe - Nov 2013 031

HERE’S WHAT I LEARNED ….. WHILE EXPERIMENTING !

  • Popovers are one of the easiest things to prepare – ever!
  • Most recipes are nearly identical, with only slight differences.
  • Basic ingredients are;  flour, eggs, whole milk (or 2%) &  salt.
  • Most recipes include melted butter.
  • ++ Stick a knife in each cooked popover to release the steam
  • ++ It’s recommended you do NOT open the oven… but I did a few times, towards the end of the cooking process… and it didn’t seem to make any difference at that point.
  • Popovers are very similar to British Yorkshire Pudding.
  • Older popover recipes seem to result in a smaller popover with creamier insides.
  • More modern recipes seem to result in larger popovers with drier insides. I recommend both types – they’re both delicious.
  • No need to butter the pan, as recommended in most recipes, unless you have an older pan which is not nonstick.
  • I used a whisk and, at other times, an electric beater – both worked equally well.
  • And, finally, don’t bother to preheat the popover pan. It didn’t seem to make any difference.
  • Beating the eggs longer before adding the flour, salt and milk did NOT make the popovers any nicer. 

USE - First try at  Fanny Farmer